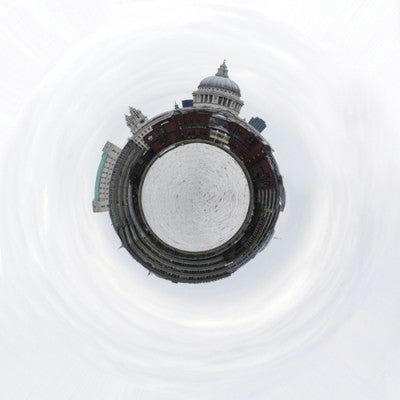
Panospheres – on a budget!
You may have spotted Edward Hill’s striking ‘photospheres’ (also known as panospheres) on pages 6-7 in the August issue of WDC magazine – they have the presence of a self-contained little world all to themselves.Creating them in the proper manner can mount up some pretty hefty costs for the right kit – tripod, panoramic head, ultra-wide lens, stitching software and so on. But we’re not going to trouble you with those expensive overheads. Instead, our guide to getting creative on a tighter budget shows you how to make your own planet-like photographic compositions.
While a pro would use a tripod with a custom panoramic head for perfect rotation when shooting, it’s quite possible to shoot by eye. The ultimate goal is to attain a 360º panorama as the basis of your panosphere. This means you’ll need to shoot a series of frames which overlap through a full turn. It’s best to try and think in your head of what the final product will look like too, as close foreground detail can become distorted, while objects protruding from the horizon will be emphasised significantly and require plenty of room for the sky for a more convincing final planet-like form. However, for those wanting to get a touch creative, you could happily use a single frame shot from a basic compact camera (see main image above), so long as you carefully consider what’s in the frame and trust your post-production skills to match up the left and right accurately.
To get started you’ll need yourself, some imagination, a camera and a copy of Photoshop from version CS3 onwards or Elements 7. The reason for this that is the in-software stitching and blending was previously unavailable in older versions.
So go seek out some good locations, get playful, and have fun visualising compositions. Here’s how it’s done…


