
Depth of Field Explained – Aperture…
Aperture…
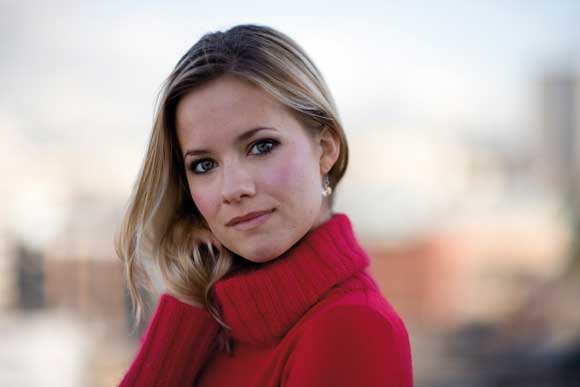
When looking to experiment with depth of field, the logical first stop is aperture. By setting your camera to aperture priority you’ll be able to quickly affect the depth of field in your images. The desired depth of field is mostly driven by both your subject and its setting. For example, in portrait photography it’s rarely desirable to have the background in focus, as this will detract attention away from the subject.
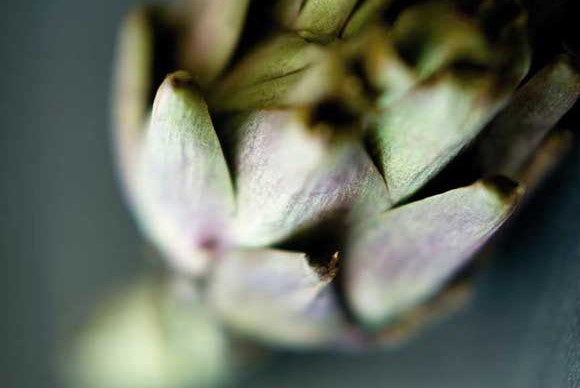
Consider the images on the right.
The bottom image was taken with a smaller aperture, thus creating a fairly deep depth of field and, as a result, the buildings behind the subject have, although not in focus, retained greater focal detail. In comparison, the top image was shot with a large aperture, and therefore the depth of field is extremely shallow. This has resulted in the background becoming almost unrecognisably blurred and the attention is focused on the subject. If the background could be potentially distracting or isn’t necessary to the photograph, try reducing the depth of field to remove it from the equation.
f/1.4

f/16