Most photographers move the sliders in Levels or reshape the line in Curves when wanting to adjust the brightness or contrast in their photos, but both features also contain a set of Eyedroppers which can be used to accurately place the tones in your photo.

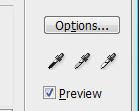
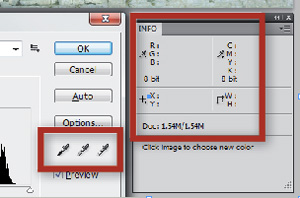
On the right-hand side of both Levels and Curves dialogue boxes is a set of three Eyedropper buttons used for sampling the black, grey and white pixels in your image. Designed to give you ultimate control over the tones in your photo, these tools are best used in conjunction with the Info palette (Window > Info).
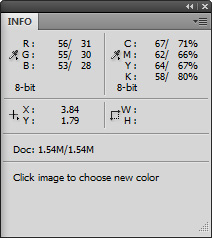
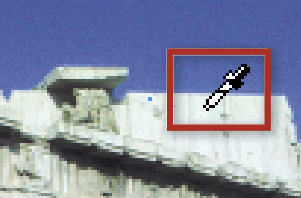
Using the readout in the palette you can locate the brightest tones in the photo and then peg these areas as the white point by clicking on them with the White Point Eyedropper (right). Similarly the Black Point Eyedropper (left) can be used to peg the darkest parts in the photo.
The middle Eyedropper is used for setting the Grey Point for a photo. By using this eyedropper to click a picture that should be a neutral grey you can perform the equivalent of a auto White Balance action.


01 Open Info Palette and Levels
To use this technique, start by making sure that the Info palette is visible (Window > Info) and then select the black point eyedropper from the Levels or Curves dialogues.
Levels
Photoshop – Image > Adjustments > Levels
Photoshop Elements -Enhance > Adjust Lighting > Levels
Curves
Photoshop – Image > Adjustments > Curves

02 Peg Black Point with Eyedropper
Locate the darkest point in the picture by moving the dropper cursor over your image and watching the values in the Info palette. Your aim is to find the pixels with RGB values as close to 0 as possible. By clicking on the darkest area you will automatically set this point as black in your graph (and your picture). Remember you don’t want to clip any details so carefully choose the tones you peg carefully.
03 Peg White Point with Eyedropper
Next, select the white point eyedropper, locate the highest value (close to RGB 255) and again click to set. When sampling white areas, you should avoid specular highlights such as the shine from the surface of a metallic object as these parts of the picture contain no printable details. With Highlight and Shadow values both pegged, all the values in the picture will be adjusted to suit.