Pros
-
 The best image quality available on a camera phone; The ability to zoom up to 3x without losing quality; A good level of manual control, with a well designed interface; Outstanding low light performance<br />Effective Optical Image Stabilisation; Two stage shutter button gives camera-like experience; Excellent LCD screen visible even in bright light; Inclusion of a proper flash
Cons
-
 A little slow, especially between shots; Limited range of apps
Design and Features
Nokia Lumia 1020 Review – Design and Features
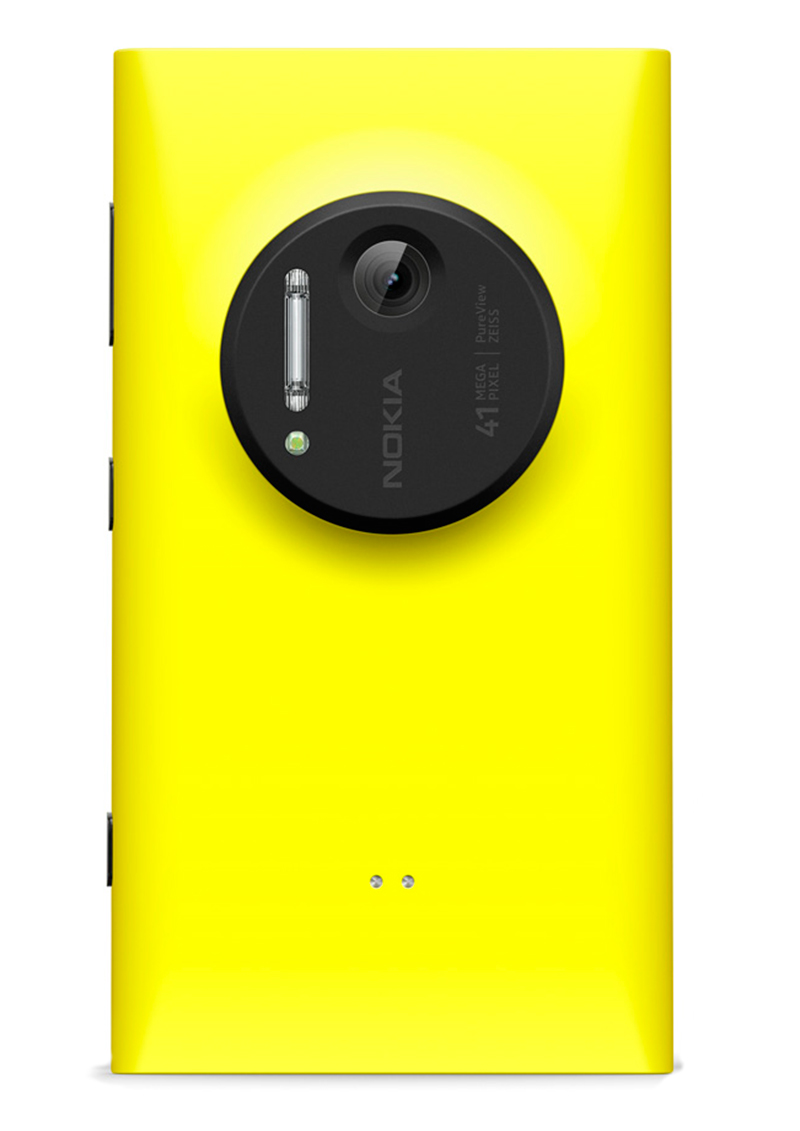
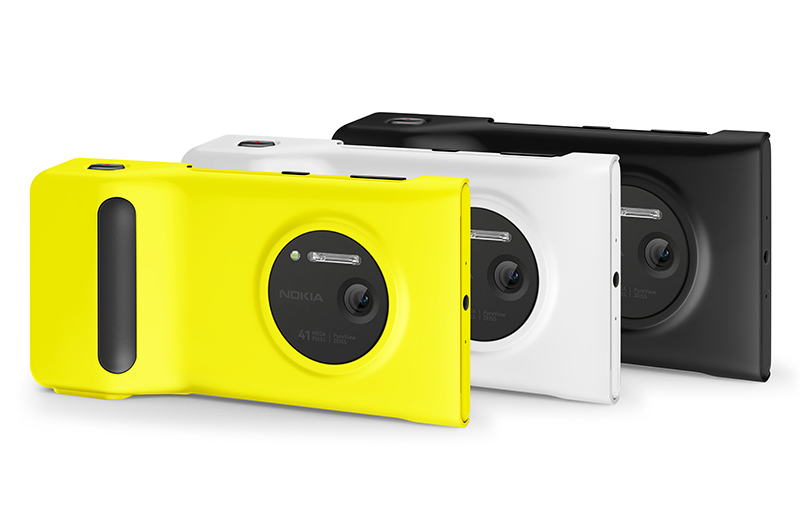
The Nokia Lumia 1020 is a large phone, slightly thicker and at 158g somewhat heavier than average, but not objectionably so. (As a comparison the iPhone 5s is 112g). In fact some users may prefer the extra heft. The body, rounded on the sides with a flat top and bottom, is made from polycarbonate and comes in a choice of black, white or yellow.
On the back, centred and one third of the way down the phone is a circular protruding platform about 5mm high housing the camera, with its Zeiss lens and Xenon flash. Clearly, with such a large sensor it wasn’t possible to keep the camera flush with the body of the phone but Nokia’s implementation looks a lot more elegant than the bulbous lump on the end of the 808, and by making it black on every handset makes it stand out especially well on the white and yellow versions, so that becomes a distinguishing feature of the 1020 and hints at the seriousness of what’s under the bonnet.
The lens is a six-element Zeiss optical offering a focal length of 27mm in the 4:3 aspect ratio, or 25mm in 16:9 mode. The lenses float on ball bearings to provide proper optical image stabilisation, which gives the phone a slight rattle if you shake it. (Don’t worry about that – Nokia makes a feature of it).
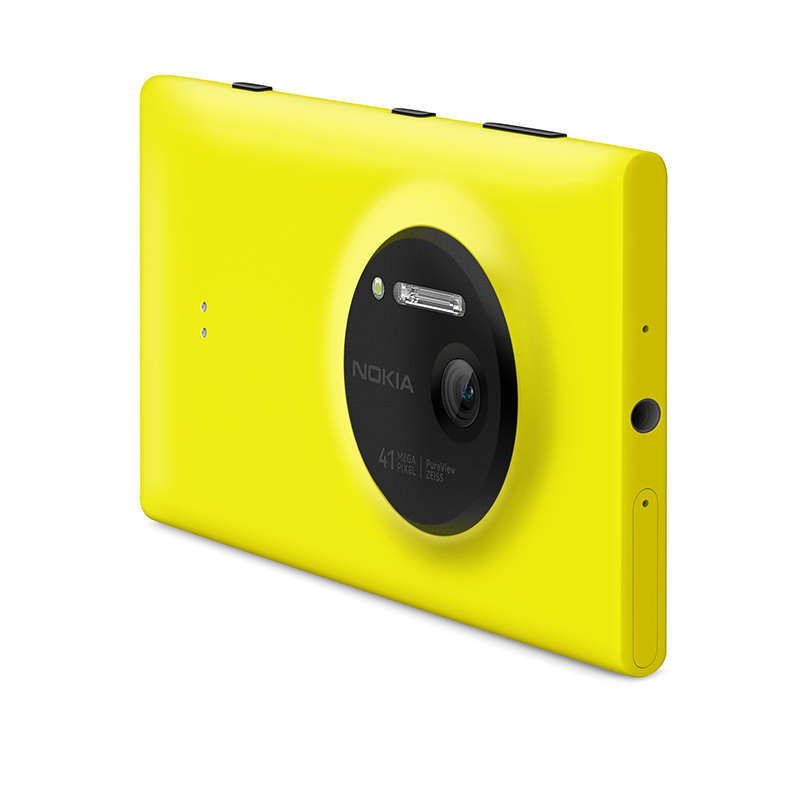
Also housed on the camera mound is a Xenon flash for still photography, which is not only much brighter than the LED that most rivals use but the faster duration is better at stopping movement. The LED has not been dropped however, as it’s still needed for video recording.
Down the Nokia Lumia 1020’s right hand side is the power/stand-by button, a volume rocker and, for photography, a dedicated shutter button. Nokia is among the few companies to provide one, but it’s generally a more stable way to take a picture than prodding the screen, and the great thing about it is that it’s a two stage release, just like a camera, so you half depress for focus and exposure, and to activate the image stabilisation, then press fully to take the shot.
The button also doubles as a short-cut from the home screen straight to the camera (the Pro Cam app, by default, but you can change that). As with other phones, you can also tap the screen to set the focus and exposure to that part of the scene, and use the on-screen ‘soft shutter’ button to take a picture, if you prefer. The screen itself is 4.5 inch Gorilla Glass, boasting a 1280 x 768 resolution, and a pixel density of 334 ppi. This isn’t the biggest or highest resolution available but it beats the iPhone on both counts.
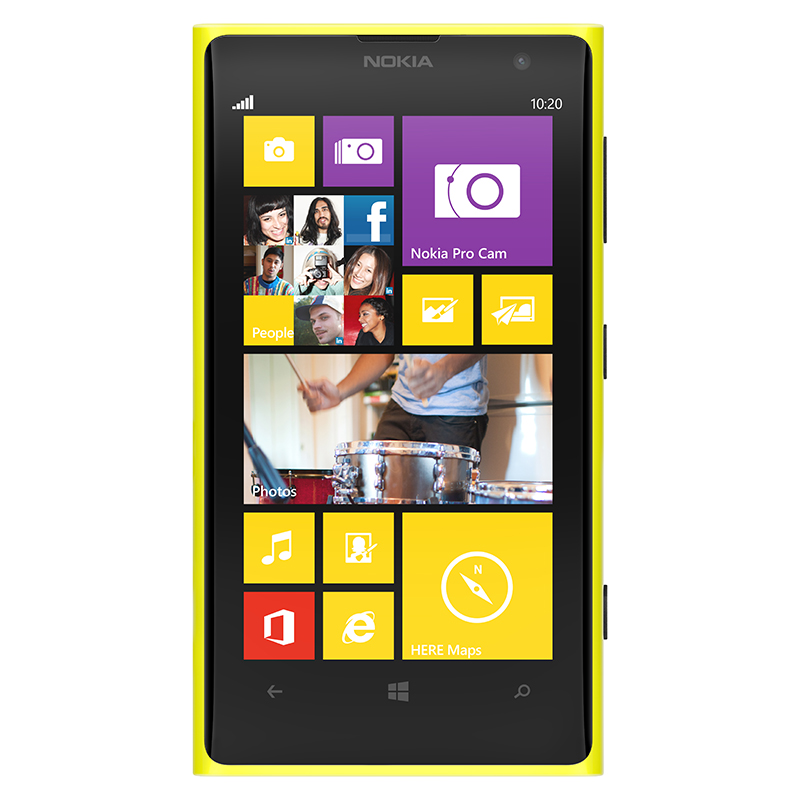
Windows Phone 8
It’s worth repeating that the Lumia 1020 runs on Windows Phone 8, which looks very different to the Apple iOS or Android platforms, but is still very intuitive to use. Access to the 1020’s functions are achieved via a mosaic of tiles on the home screen which are fully customizable by the user in their size, placement and even colour. Some, such as the calendar and Facebook apps have ‘live tiles’ that display the latest entries without having to go into the apps themselves.
Although the interface looks great and works well, Windows Phone has only a 3% market share at the moment, which is reflected in the breadth of apps available in the Store, with only about a fifth of the range of apps of its main rivals. Microsoft is working hard to catch up, but in the meantime there are significantly fewer photography apps than are available on Android or Apple iOS. For example, there’s not even an Instagram app yet. Luckily the Nokia Lumia 1020 comes with a suite of its own apps, or ‘lenses’ as Nokia confusingly calls them.
Nokia Pro Cam
Nokia Pro Cam is the app that anyone serious about photography should be using, as it’s the only one that can save the full resolution image. This hi-res file behaves a little like a raw file in some respects in that whatever zooming you applied at the time of shooting, and whatever processing actions you performed afterwards, are made to the 5MP over-sampled image, so you can always go back to the high res version and start again.
If you change your mind about your zoomed crop you can undo it, or move the crop marquee around the image to create a new composition. If you want to get that high-res file off the phone though you have to connect it to your computer to do it, you can’t send it wirelessly.
In addition to this unique dual capture functionality the Pro Cam app also provides an unusually high level of manual control, using a cool and easy to use interface. A small control panel at the top of the screen (in landscape orientation) shows icons for Flash, White Balance, Focus, ISO, Shutter Speed and Exposure Compensation. The icons are a little small and close together for all but the pointiest of fingers, but pressing each icon launches a curved line on the screen upon which a virtual control button slides up and down, changing the settings of that particular parameter.
A dedicated Camera Grip case, complete with shutter button, tripod bush and extra battery pack, is available as an optional extra in the same colours as the phone, for around £45
An easier option for the chubby fingered is to press and slide the soft shutter release button towards the centre of the screen, so that all the curved lines appear at once, covering the screen in concentric rings, like a school text book diagram of the solar system in which the shutter button takes the place of the sun and the ISO, White Balance and other buttons are the planets.
The reason for the lines being curved rather than straight vertical or horizontal becomes apparent as soon as you use it, as they follow the natural arc of your thumb as it pivots from your hand.
The range of control offered by the settings is impressive for a phone. The ISO range stretches from 100 up to 4000, while the shutter speeds extend from a super-fast 1/16,000sec all the way down to four seconds. Each parameter can of course be left in its default auto position.
In addition to these settings the triple dot Options menu offers further control. You can choose the aspect ratio you want to shoot at (4:3, 3:2, 16:9), whether you want to save just the 5MP version or the full res 34/38MP version too (and why wouldn’t you), and turn face detection on and off, among other things. There’s a handy two-second shutter delay button to reduce camera shake and a useful tutorial area with an instructive video for those who need a bit of help.
Nokia Smart Cam
Those for whom ultimate image quality is less impressive the ability to perform cool tricks that will impress their friends should head over to the Nokia Smart Cam app, which offers a menu of clever effects based upon a high speed burst of images.
These are not new – they appear on some of Nokia’s other handsets and some of them are also available on Samsung and HTC handsets, but they’re quite impressive and for many users are certainly a fun alternative to the straight-laced perfectionism of the Pro Cam.
It works by shooting a burst of ten 5MP images at a rate of 4fps, and then presenting the user with a series of options about what to do with them:
> Best Shot: The simplest option is just to let the phone pick which it thinks is the best image, which you can then either save or pick a different one.
> Change Faces: take a group photo with Smart Cam and you can swap the faces between shots to create a composite containing the best expression of the sequence for each person.
> Remove Moving Objects: it’s annoying when someone walks past in the background of your shot just as you press the shutter. With this mode you can remove them – the camera paints in the background from other frames in the sequence.
> Action Shot: Creates a strobe effect with multiple images of a moving subject superimposed onto a single background, each on a separate layer so you can delete them individually. You can either keep them all or just select the one or more that have the perfect positioning.
> Motion Focus: creates a slow shutter speed panning effect by keeping the subject sharp while motion-blurring the background.
The Smart Cam app stores these bursts in stacks, which you can go into and edit at any time so you don’t have to decide on the spot.
Panorama App
Pretty much every phone can shoot panoramas, but Nokia’s Panorama app works a little differently. Rather than sweeping the phone in a single arc you take a series of still images, moving the phone between shots. An on-screen target ensures perfect alignment and takes the picture automatically when the circles line up.
It’s a little more laborious and time consuming but the benefit is that the camera is stationary as each shot is taken so it should be sharper, especially in low light when slower shutter speeds are required.
Cinemagraph
The most gimmicky of the built-in apps creates selectively animated still images, made from short video clips, in which you can select by drawing on the screen which parts you want to be static and which you want to move. The result is like an animated GIF that has a certain comedy value with the right subject but its 800 pixel output and limited usefulness make this an app you probably won’t use very often.
Editing
After you’ve taken a picture you have two built-in options regarding editing. The basic app allows for little more than cropping and auto-fixing, so it’s best to select the Creative Studio app, which offers a greater range of options. On selecting an image for editing you’re first presented with a scrollable strip showing the picture au natural and with a variety of mostly underwhelming colour-cast filter effects applied, such as Jade, Aquamarine and Amber.
The filters on some rival devices are better, though of course additional effects can be added with third party apps such as Flickr, which is available for Windows Phone. That said, the creamy mono Ivory filter looks great with the right subject.
Having selected the version of your image you want you are then presented with four editing menus.
> Fix: cropping and red eye removal. You can crop to fixed aspect ratios from square to panorama or go freestyle.
> Adjust: the most useful controls are here – colour balance, brightness, clarity and vibrance. Unfortunately there are no shadow or highlight adjustment options, nor any sharpening tools. All are adjusted using sliders, there are no touch-edit features in this menu.
> Blur: this menu enables you to apply a radial (circular) or lateral (‘tilt-shift’) blur to your image, and adjust both the size and positioning of the area of sharpness, though not the degree of background blurring, and the lateral blur only works in the landscape orientation. There’s also an option called Focus Object, which is where you can get stuck in with your finger and draw your own masks for blurring/sharpening. It’s a little difficult to be accurate with stubby fingers, but it isn’t designed to replace Photoshop.
> Play: here you’ll find a selective colour tool called ‘colour pop’ where you can preserve a single colour in your scene (the reds, for example) and turn everything else mono. It can work well with the right subject. The other option, ‘collage’ is more a presentation than editing tool and lets you arrange a selection of photos into a multi-image collage.