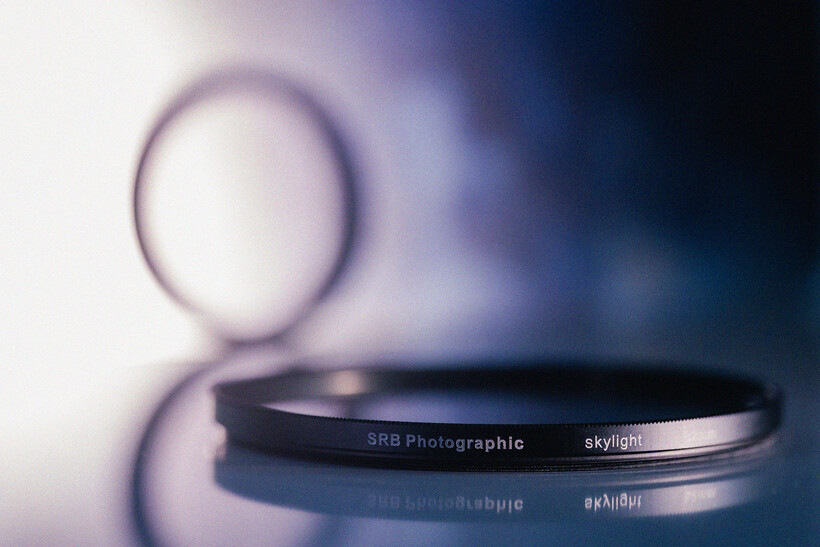


In this article we look at the skylight filter, providing a guide to what it is for and how it works
At one time no self-respecting photographer would leave home without a skylight filter screwed into the front of all their lenses, but neither the 1A nor 1B guise are as popular as they once were. The reason is that most people don’t know what a skylight filter does or they assume they can create the same effects afterwards in software. It is partly true that some of what a Skylight filter does can be replicated in software, but it can be hard to mimic the impact an optical filter using just digital controls – and most people don’t actually think to do it anyway.
What does a Skylight filter do?
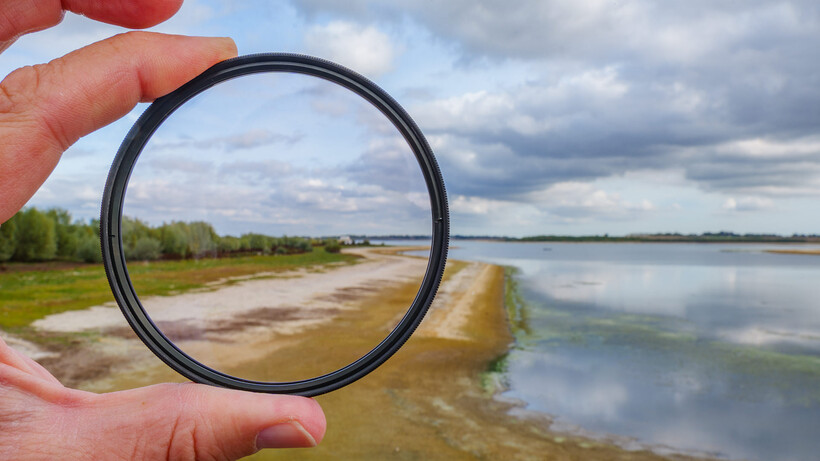
The skylight filter has a very subtle magenta coloured tint, with 1A filters being a lighter shade than 1B filters. They are designed to cut through that cool blue haze we often see forming a light blanket over distant subjects which is caused by reflections of a blue sky in the atmosphere. This blue haze can reduce contrast and mask the saturation of colours in far-off parts of the scene.
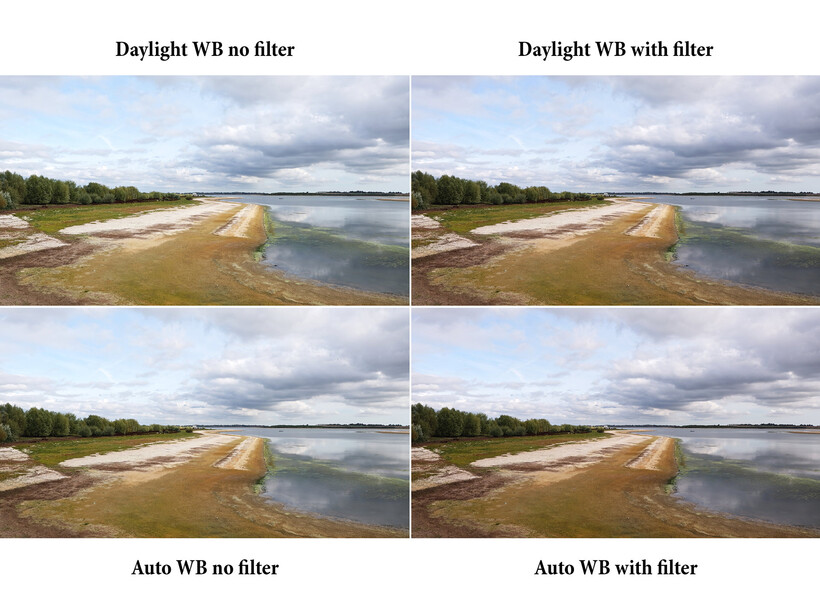
When everyone shot on film there were few solutions to this problem in the printing stage, so these magenta tinted filters were frequently used to counteract the blue cast at the time of shooting. Clearing the blue haze and adding a slight hint of pink, the Skylight filter allows warm colours to show through and helps to increase the sense of tonal contrast and sharpness in the scene. The filters are most effective when blue skies prevail, and are especially helpful for neutralising those blue shadows we get in snowy conditions, but they can add a pleasant tone to pretty much any out-door situation.
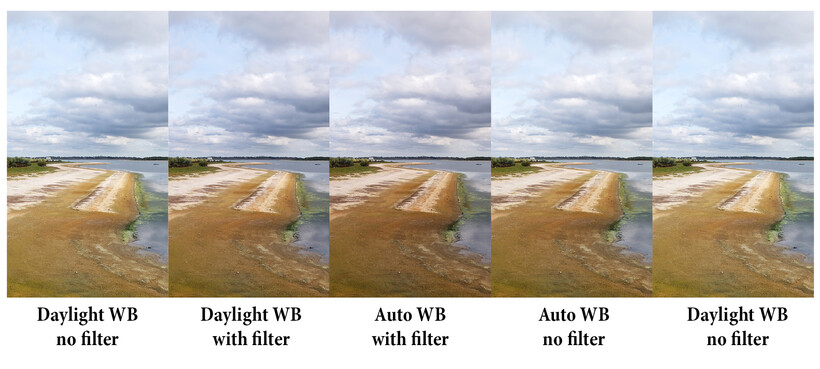
When digital cameras came along many people abandoned optical filters thinking they could do it all afterwards in software, and while many of the effects of these filters can be achieved in post-processing a photographer needs to be familiar with the effect to be able to apply it. And most people just don’t think to do so. Having the filter on the lens means we get the effect at the time of shooting so we don’t need to think about it afterwards at all.
Like all optical filters, some light will be lost passing through a Skylight filter, but only a tiny amount. If you meter manually you might add 1/3EV to your reading, but if you meter through the camera the slight light loss will be handled automatically and you won’t notice it at all. The filter I was using for this article knocks out 2/10th of a stop of light, but as most cameras work in 1/3rd stop steps this can be rounded up to 1/3EV without serious consequences. The cost in light is minimal.
Skylight filters as lens protection
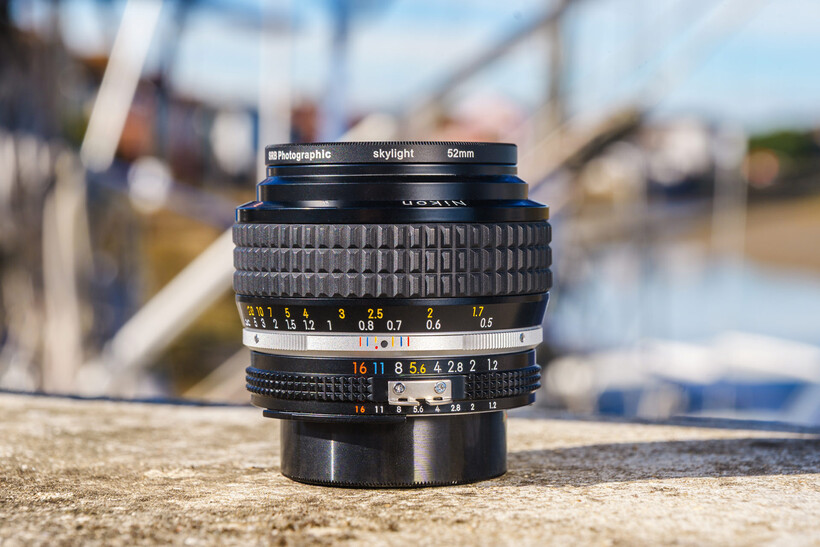
As their effect is really quite attractive a lot of photographers who use Skylight filters keep them on all the time. These filters are uncomplicated to make and don’t cost very much to buy, so they double up nicely as an additional layer of protection for the front element of your lens. If you bash the front of the lens by accident it is cheaper to replace a smashed skylight filter than it is to get a lens repaired, so some photographers buy one for every lens and just leave them in place.
Do we still need Skylight filters with modern cameras?
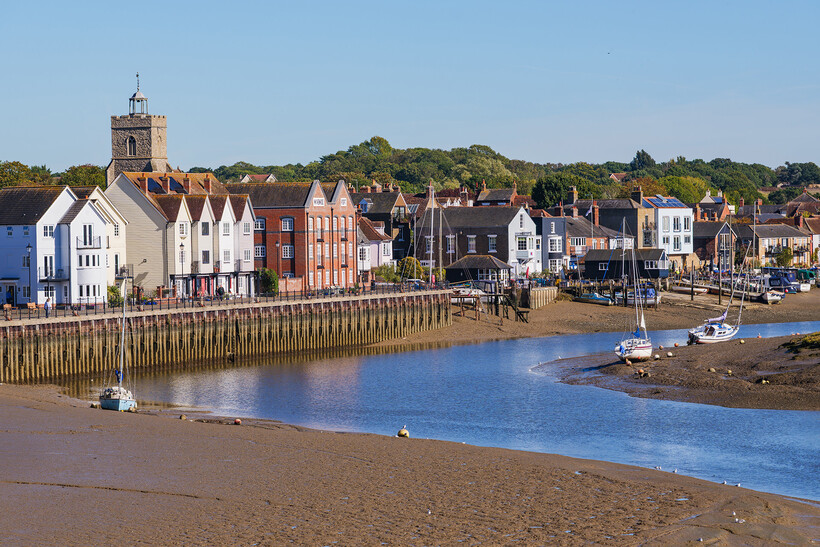
Skylight filters still do a useful job even if you aren’t shooting on film. They act as a very mild warm-up filter, increase the colour saturation of warm tones, they cut through blue haze to improve the sense of contrast in distant scenes – and they keep your front element safe for not very much money.
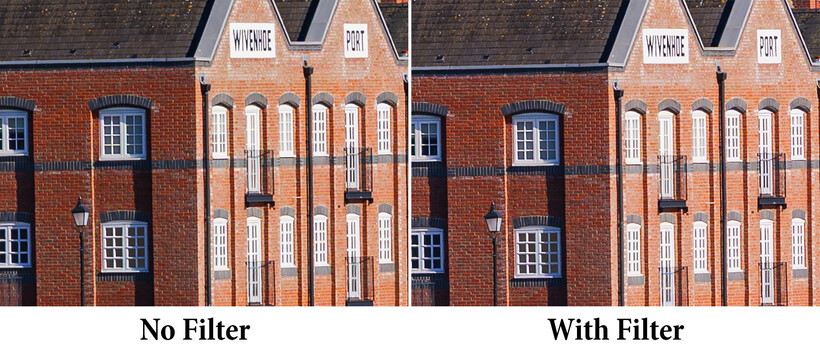
In many situations they can make a noticeable difference to the attractiveness of your pictures in a way you might not just quite be able to put your finger on – but the effect is there all the same. They don’t have a dramatic effect, and you have to pay attention to see the changes they are making but these subtle adjustments are certainly positive and make most scenes more visually appealing. So yes, Skylight filters are still relevant and useful even for today’s photographer.
How to buy a Skylight filter
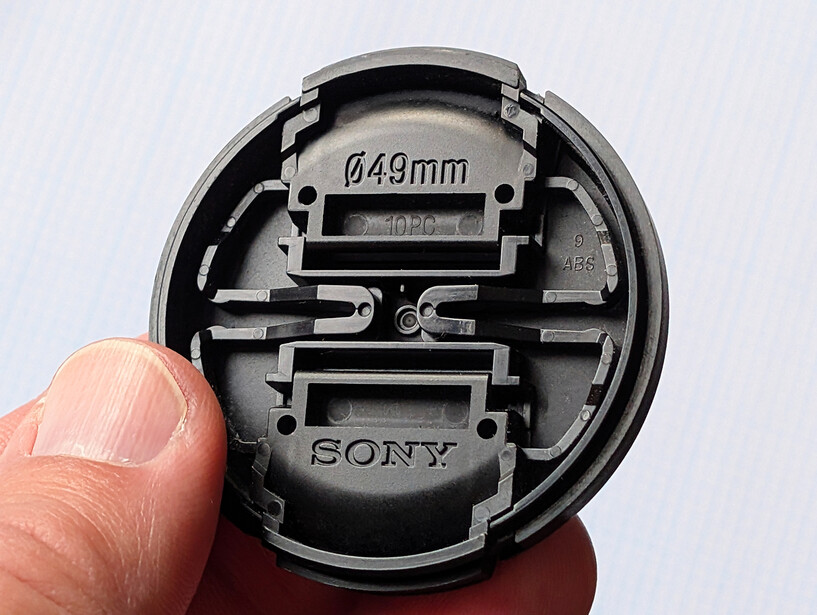
Skylight filters almost always are sold in a screw-in format rather than as square sheets of glass, so you need to know the size of the filter thread of your lens before you go shopping. Take your lens cap off and on the inside your see its size and thus the size of filter you need. Common sizes are 52mm, 67mm, 77mm and so on. When you get the filter just screw it in securely but be careful not to screw it so tightly it will be hard to remove. Running around the screw thread of the filter ring with a soft pencil can create a dry lubricant effect that makes screwing the filter on and off a much smoother experience.
Thanks to SRB Photographic for the Skylight filters used in this article.