Filters are an essential component in any photographer’s kit bag, and are invaluable for getting your images right in-camera. We take a look at the main types of filter and explore what they have to offer…
 Given the advances in post-processing software in recent years, along with the proliferation of Instagram-style digital filter effects, you might be forgiven for assuming that traditional camera filters have had their day. Not at all. Any professional photographer will tell you that filters remain a vital photographic tool well worth reserving a space for in your kit bag.
The main appeal of filters is that they can be called upon in a wide range of situations in order to bring the very best out of the scene you want to capture. For example, ND grads can be used to preserve the colourful highlights in a dramatic sunset, whereas an unfiltered exposure might blow them out. Likewise, a decent polariser can be used to dramatically boost saturation and contrast when shooting outdoors in bright sunshine, adding an extra layer of punch and vitality to your images.
Better still, some filters also open the door to a number of creative photographic techniques that are extremely difficult – sometimes even impossible – to replicate using Photoshop or other post-processing applications. For example, high-strength neutral density filters allow you to use much slower shutter speeds in bright conditions, enabling you to produce dreamy effects from moving water and clouds.
The main issue for anyone who wants to experiment with filters is the sheer number of products on the market, many of which will only be of benefit in very specific conditions. That said, there are also a number of filters that most enthusiasts – particularly landscape photographers – consider to be essential. Over the next few pages, we’ll look at what these are and explore the benefits they can bring to your photography, as well as recommending some of the best examples currently on the market.
See our round up of the best filters for your kit bag
See our round up of the best enthusiast and professional grade filters
Circular or square?
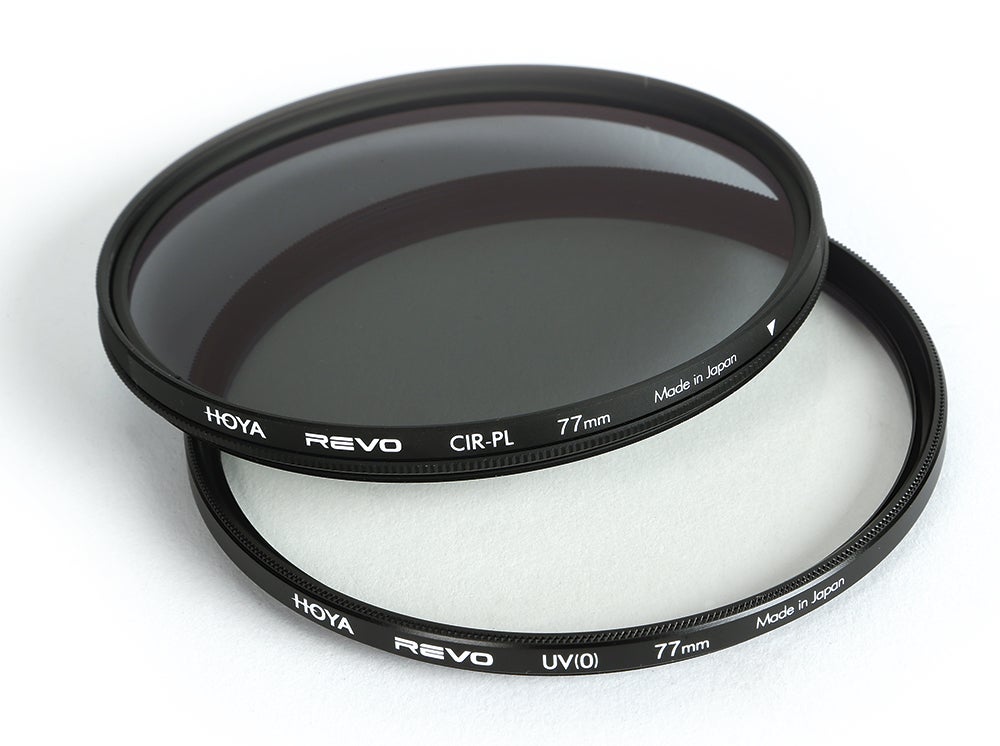
Filters come in two shapes – circular and square. Circular filters screw directly onto the end of your lens, while square filters require a bespoke filter holder and lens adaptor. Which type is right for you will generally depend on the type of filter you want to use, and how many you think you want to use simultaneously. Generally speaking, most photographers tend to prefer circular UV filters, polarisers and ND filters, but square grad filters, as they enable more precise control over which part of the frame the filter affects.
Many landscape photographers who regularly use ND and ND grads in combination tend to stick with square filter systems, primarily because they are quicker to set up and dismantle in between shots.
Because lenses come in many different sizes, circular filters also come in a variety of sizes – from the small 52mm filters that fit many standard 18-55mm kit lenses to the wider 77mm filters designed for professional-grade f/2.8 zooms. Obviously, you’ll need to match the correct filter size to the diameter of your lens. If you’re not sure what the diameter of your lens is, you can often find it embossed on the inside of the lens cap the lens originally came supplied with. Failing this, you should be able to find it on the manufacturer’s website.
Of course, if you’ve built up a collection of lenses, there’s a very good chance not all of them will be the same diameter. In this case, you’ll either need to buy separate filters for each lens, which can quickly get expensive, or invest in a step-up adaptor ring that enables you to attach a 77mm circular filter to, say, a 72mm lens. Conversely, a step-down ring will allow you to attach a smaller 72mm filter to a 77mm lens. While both approaches will save you money, you do run an increased risk of vignetting – especially when using a step-down adaptor or an ultra-wideangle lens. Likewise, while circular filters are threaded on both sides so that they can be stacked one filter on top of another, combining too many at once will often result in vignetting.
When choosing a circular filter, a number of factors have an impact on price. Glass filters are generally more expensive than those made of resin, and are more susceptible to breakage if dropped. Look out for image-enhancing coatings. While most filters will have some type of coating, the number of layers applied, the quality of these coatings and process used to apply them will have a big impact on quality. Likewise, the thickness or ‘height’ of the filter is also worth considering, as this will have a direct impact on the likelihood of vignetting (ie whether the camera sensor will be able to ‘see’ the edges of the filter, resulting in dark corners in the frame).
If you own a range of lenses with different filter diameters and have a keen interest in landscape work, you will almost certainly find it more practical and cost-effective to invest in a square filter system. These are built around square or rectangular pieces of glass or resin that slot into a bespoke filter holder that attaches to the lens via an adaptor ring. These adaptor rings are available in all standard lens diameters and are significantly cheaper to buy than individual circular filters.
There are a number of square filter systems on the market, the most popular of which are those manufactured by Cokin and Lee. To help you narrow down which is best suited to your lens collection, both manufacturers helpfully state the width of the individual filters each of their systems holds, along with the range of lens diameters they are designed to work with. As a rule, the larger the individual filters are, the more costly the system will be.

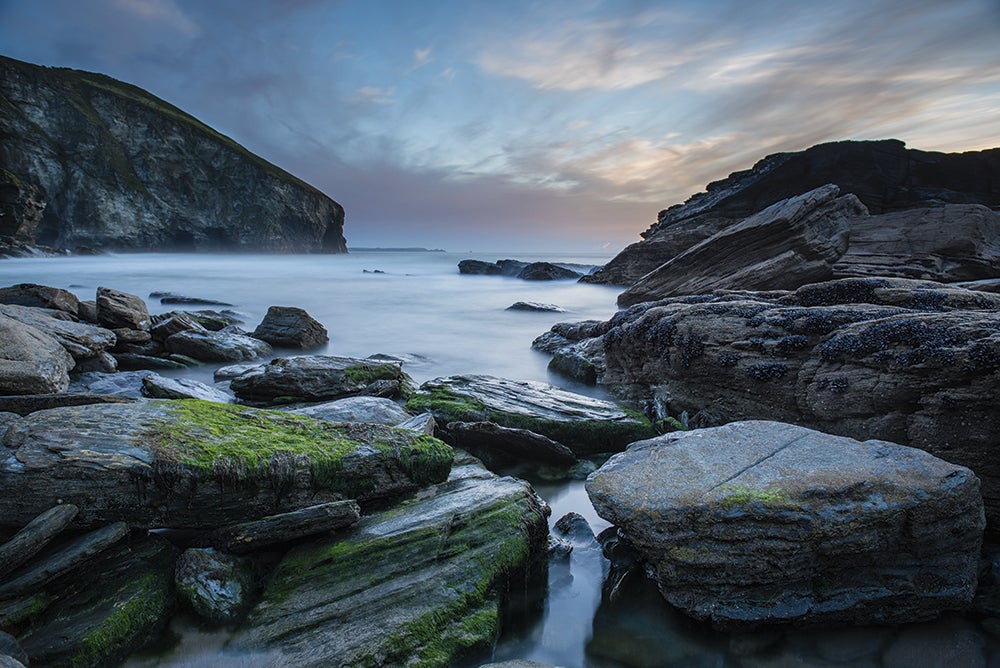
This image was taken at Trebarwith Strand, Cornwall, while the sun was low in the sky, behind the large rock to the right of the frame. A Lee Big Stopper was used to achieve a 30-second exposure in order to smooth out the sea. In reality, there was actually quite a big swell rolling in, with 5ft-high waves crashing on to the outer rocks. Nikon D750, 24-70mm at 24mm, 30 seconds @ f/5.6, ISO 200
Protective, UV and skylight 1B filters
Clear filters are designed to protect the front element of your lens without affecting the image in any way. The basic premise is that it’s preferable to trap dust and smears on a filter than on the front element of your lens, as the filter is easier to clean and much cheaper to replace if scratched or damaged.
In the days of 35mm film, photographers regularly used UV filters when shooting outdoors, as film is especially vulnerable to the haze and blueish tint caused by UV light. While this isn’t so much of an issue for digital cameras, many photographers are still in the habit of fitting a UV filter instead of a clear protective filter and leaving it on as an insurance policy against lens damage. The main difference between UV filters and skylight 1B filters are that UV filters are designed to filter out UV light while remaining colour neutral, whereas skylight 1B filters actually introduce an element of colour correction that produces a slight warming effect in images. For this reason, they are much less commonly used.
One drawback of using a protective or UV filter is that when shooting directly into the sun, the additional layer of glass increases the likelihood of lens flare. This is more common with cheaper UV filters than with more expensive, multi-coated examples. Either way, using a lens hood will help to reduce the chances of this happening.
Polarising filters
If you regularly shoot landscapes, then a decent polarising filter is essential, not least because some of its effects are impossible to mimic in Lightroom or Photoshop. At their most basic level, polarising filters work by filtering out reflected light from non-metallic surfaces, which is also known as glare. The effect is most pronounced when photographing water and glass, although they will actually cut the amount of light reflected from all objects. Using a polariser to shoot water, for example, will enable your camera to ‘see’ beneath the surface. It will also increase colour saturation and boost contrast; skies become bluer and foliage greener. It’s easy to see why they are so popular with landscape photographers.
While the effects can be dramatic, there are a couple of things to bear in mind when using polarising filters. Firstly, they cut the amount of light entering the camera by about 1.5 stops, so you’ll need to compensate by setting a longer shutter speed, wider aperture or faster ISO. Secondly, the angle of the sun greatly affects the strength of the polarising effect. As a rule, shooting at a 90° angle to the sun will produce the most pronounced results. But if you are shooting with an ultra-wideangle lens, you may also find that saturation levels in the sky are uneven across the frame, which is a direct result of the ‘90° rule’. Our best advice is to read up on polariser technique and get out and experiment.
Neutral-density filters
Neutral-density filters are used to reduce the amount of light that reaches the sensor. They are colour neutral by design, which means that colour and white balance are both unaffected by their use. ND filters are especially useful when you want to use a slower shutter speed in bright conditions in order to capture movement in clouds or running water. In addition, they can also be used to smooth out rough seas when shooting seascapes, or to capture the light-trails of traffic in an urban environment. In especially bright conditions, the use of an ND filter also allows you to shoot at much higher aperture settings (typically f/1.4 to f/2.8) than would otherwise be possible in order to deliberately blur the background behind your main subject and make it stand out more.
ND filters come in a variety of strengths. Somewhat confusingly, these are expressed in slightly different ways by manufacturers. In purely practical terms, though, these descriptions all relate to the number of stops your exposure is altered by. The most commonly used ND filters are those that cut the amount of light hitting the sensor by one, two or three stops. Hoya, Marumi and Kenko label these with the ND2 (one-stop), ND4 (two-stop) and ND8 (three-stop) formula. Lee, Hoya and Tiffen, meanwhile, use the 0.3 (one-stop), 0.6 (two-stop) and 0.9 (three-stop) formula instead. In this respect, there is no difference between a ND2 and a 0.3 ND filter – they are both the same strength. Square ND filters can also be stacked one on top of the other for added strength, although you do run an increased risk of vignetting and color shifting the more you combine.
In addition to the main low-strength ND options, there are an increasing number of more powerful ND filters on the market that are designed primarily for long-exposure enthusiasts. Lee makes perhaps the best-known of these extreme ND filters in the guise of the 10-stop ‘Big Stopper’ and six-stop ‘Little Stopper’, both of which can be used with Lee’s square filter 100mm system, or indeed Cokin’s Z-Pro system. Circular-shaped alternatives, such as the six-stop Hoya Pro ND64 and 10-stop Hoya Pro ND1000 are also popular. One useful tip when using powerful ND filters for long-exposure photography is to keep your eyepiece covered up while the shutter is open, as light can creep in this way and affect your image.

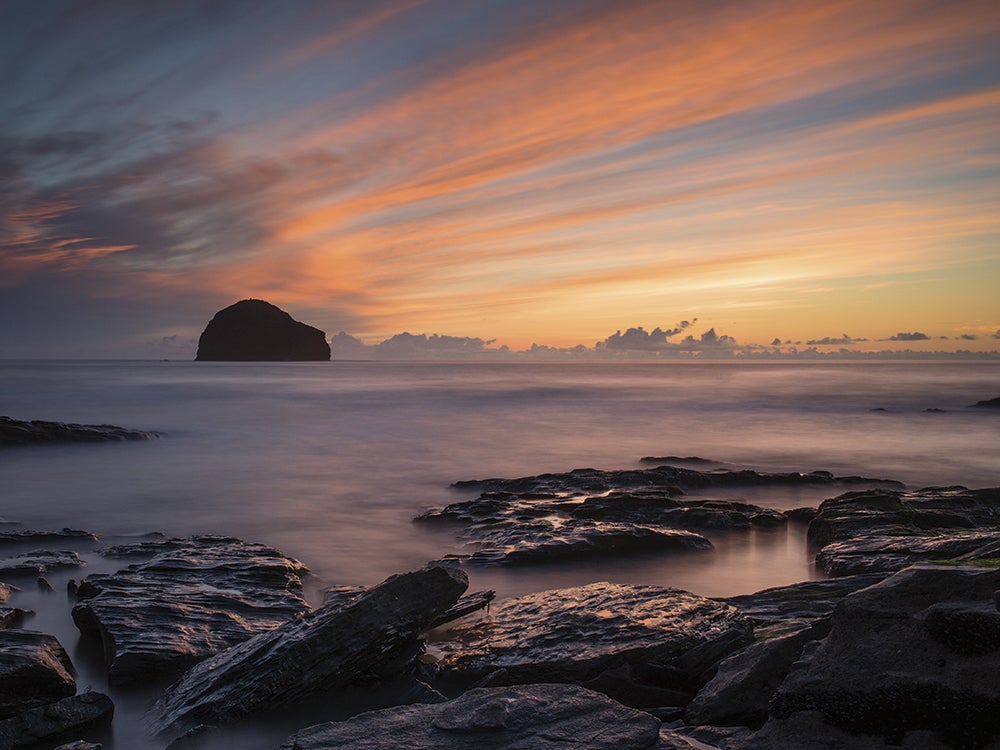
A Lee Little Stopper enabled me to use a long shutter speed. A 0.6ND grad helped retain highlight detail in the sky. Nikon D750, 24-70mm at 32mm, 30 seconds @ f/9, ISO 200
Neutral-density grads
Graduated ND filters, or ND grads as they are commonly called, work the same way as regular ND filters. However, their crucial difference is that only half of the filter is treated, to reduce the amount of light entering the camera, with the other half being completely clear.
While some manufacturers offer circular ND grad filters, most landscape enthusiasts opt to use the square types (that are actually rectangular in shape), as this allows them to be more accurately positioned within the filter holder to cover the area of the frame where you need to block out light. In addition to moving the filter itself up and down within the holder, most filter holders can also be rotated, which allows you to block light out of a specific corner of the frame rather than across a straight horizontal axis.
As with regular neutral-density filters, ND grads are rated in terms of their light-stopping power, with their strength described in exactly the same way as regular ND filters. One additional thing to look out for is how subtly the gradation occurs across the filter. In this respect, the term ‘hard graduation’ refers to an ND grad with a fairly abrupt transition between the darkened area and the clear area, whereas a soft ND grad is one that transitions more subtly over a greater portion of the filter.
You can, of course, apply neutral-density graduated filter effects in Lightroom and Photoshop. However, in our experience, it always pays to be as precise as you can at the time of capture, simply because if you blow the highlights in-camera it can be very difficult to get them back in post-production.
Square filter systems
Cokin offers four square filter systems: the entry-level A-Series system, designed for lenses ranging from 36-62mm in diameter; the P-Series, for 84mm-wide filters for lenses ranging from 48-82mm in diameter; the Z-Pro series for 100mm-wide filters and 49-96mm lenses; and the X-Pro system, for 130mm-wide filters and lenses with a diameter of 62-112mm.
Lee offers three systems. The Seven5 employs 75mm-wide filters and is primarily for CSCs, with a range of adaptors from 32-77mm in diameter. The 100mm system holder can be customised to hold up to three filters. This attaches to the camera via an adaptor ring, with Lee offering a standard one for lens diameters of 49-105mm, and another one specifically for use with wideangle lenses, which covers 49-82mm. The SW150 system, meanwhile, can be used with a handful of ultra-wideangle lenses between 12-24mm and employs 150mm filters.


