Besides printing all your latest digital files, you shouldn’t forget about your collection of traditional photographic prints, slides and negatives. Converting them to digital files is an easy process; all you need is good quality scanner.
There are two common types of scanner, a flatbed and a dedicated film scanner (there is also a drum scanner, for high-end professional film scanning).
Many top of the range flatbed scanners, such as the Epson V750 & V700, also incorporate a transparency hood for film scanning (slides and negatives).
The Epson scanners are supplied with film holders that accommodate film sizes from mounted slides to 35mm film strips, medium format, and large format up to 10×8 inches. The scanned film results using the Epson scanners are first class and can rival dedicated film scanners costing many times more. Dedicated film scanners produce the best quality, but the downside is that they tend to be expensive and are generally optimised for one film size.
How to scan prints
 Step 1
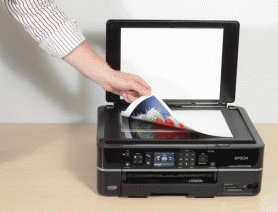
Scanning prints is an easy process: just lay your pictures face down on the scanner’s glass surface and press the Preview button. Once the preview is displayed you can make adjustments to the crop and colour correct if needed. If you want a same-size reproduction of the original then you should set the scale to 100% with the scanning resolution set to 300dpi.
Step 2
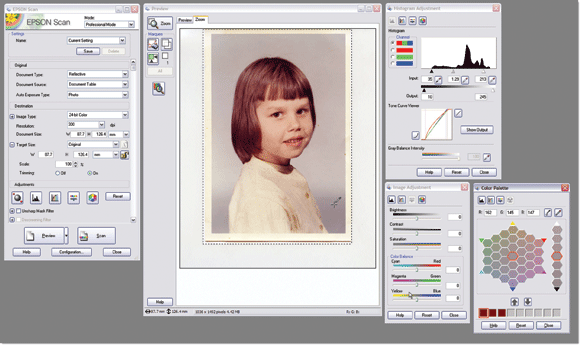
If you want to enlarge or reduce the picture then change the scale to a higher or lower figure. All scanners are supplied with scanning software that incorporates a basic or advanced mode.
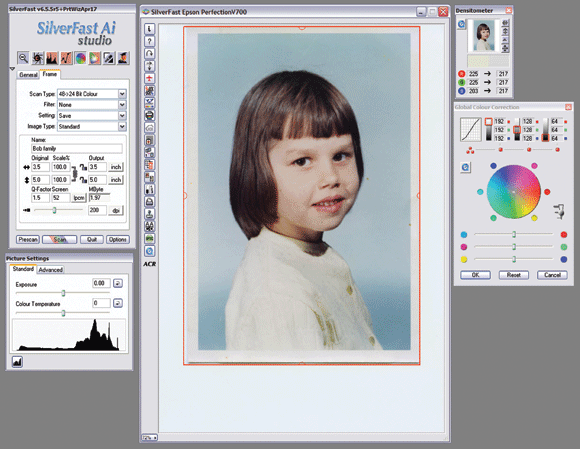
The basic mode (below) will help you to achieve good results via a wizard, but as with most automated things you may be frustrated with the lack of user control. If you want the best scans then you should be using the advanced mode or something like SilverFast Ai from LaserSoft…

… (below). This software will give you much more control over your images.
www.silverfast.com


