One of my favourite after-printing effects back in my darkroom days was split toning. This process involved passing a completed black and white print through two differently coloured and separate toning baths. This resulted in the print containing a mixture of two different tints.
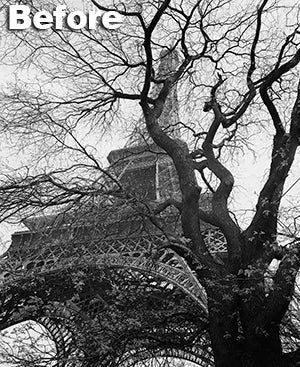
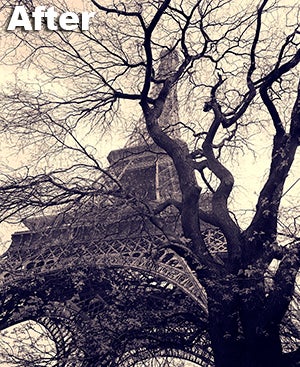
Split toning is when a different colour or tint is added to highlights and shadows of the print. Here the highlight areas have been toned red-brown and the shadow parts of the picture blue.
For example, when an image is split toned with sepia first and then blue toner the resultant picture has warm (brown) highlights and mid tones, and cool (blue) shadows. Getting the right toning balance between the two solutions was difficult and trying to repeat the process uniformly over a series of images was even harder. Thankfully I can replicate the results of split toning in my digital pictures with a lot less trouble and a lot more predictability.
The digital version of the process revolves around a tool that is common to both Photoshop Elements and Photoshop. Called the Color Variations feature (Variations in Photoshop), it is most commonly used for removing colour casts from photos taken under mixed light sources. Color Variations is very helpful with these colour correction tasks as the feature has the ability to isolate colour changes to specific tonal areas – highlights, midtones and shadows and it is precisely this ability that we can use to create a split toning effect.
Using the feature, the colour or tint of highlights, midtones and shadows of greyscale photos (that have been stored in the RGB Color mode) can be individually adjusted. Replicating the sepia/blue split tone I produced in the dark room is a simple matter of selecting the highlight tones and adding a brown tint and then selecting the shadow areas and altering these to blue.
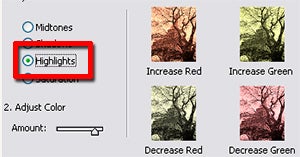
01 Start by ensuring that the monochrome photo is in RGB Color mode. If not, change the mode using the options under the Image > Mode menu. Next select the Color Variations feature from the Enhance > Adjust Color menu. Select the Highlights setting and then click on the Increase Red and Decrease Blue thumbnail.
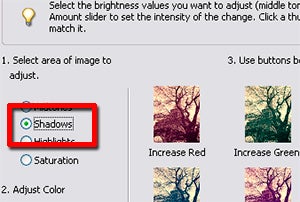
02 Now to the shadows. Without closing the Color Variations dialogue, select the Shadows setting and click on the Increase Blue thumbnail. Alter the Amount slider to increase or decrease the degree of change made with each thumbnail click.
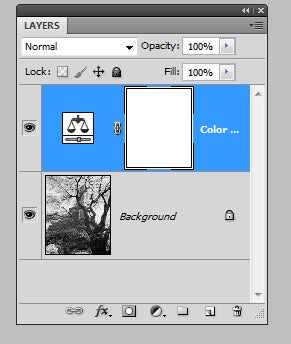
03 Photoshop users are spoilt for choice, for as well as using Image > Adjustments > Variations, they can also apply the Color Balance Adjustment layer feature to split-tone their photos non-destructively.
In Photoshop:
Image > Adjustments > Variations
Image > Adjustments > Color Balance
In Photoshop Elements:
Image > Adjustments > Variations


