Have you ever wondered what anti-aliasing is? And why do tools with an anti-aliasing option always have it turned on by default? Those same tools are likely to have a box where you can also set feathering. Now thatu2019s a cryptic command unless youu2019ve seen it in action. Take a look below and learn how these odd options and more are invaluable when it comes to blending and making smooth transitions, especially when weu2019re selecting.
Pro’s Tip: The degree of feathering required to soften selection edges depends on the file resolution. The larger the file, the greater the degree of feathering necessary. Feathering can be applied as a tool option or to existing selections via the Selection menu.

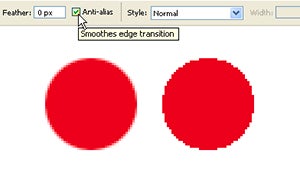
01 Bitmap images, such as photographs, are represented by a grid of pixels. So horizontal or vertical lines are displayed sharply by row after row of tiny squares. But when it comes to displaying curves, the edges are jagged as in the circle on the right. So anti-aliasing uses colour to soften and disguise the edges (left circle).

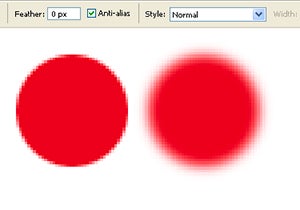
02 Selection tools have a feathering option to allow you to determine how soft or hard the edge will be. The magnified view above shows a circle on the left that has anti-aliasing and no feathering. Whereas the circle on the right has 10 pixels of feathering applied.

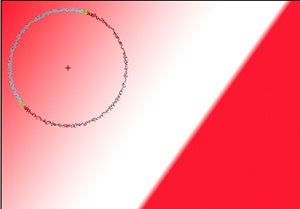
03 When you’re painting layer masks, the brush characteristics effect the mask. If you require a blended transition, use a large, soft brush. If the task demands a sharp edge between the visible area and the hidden area, use a smaller, harder brush.
In Photoshop:
Selection > Feather
Win: Alt Ctrl D
Mac: Cmd Option D
In Photoshop Elements:
Selection > Feather
Win: Alt Ctrl D
Mac: Cmd Option D


