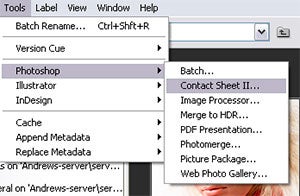
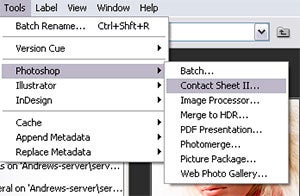
The familiar Contact Sheet option that has been present in Photoshop for the last few versions can be used from Bridge to print u2018proofu2019 sheets of Raw files. Thumbnails are multi-selected from the Bridge workspace before accessing the utility via the Tools > Photoshop menu.
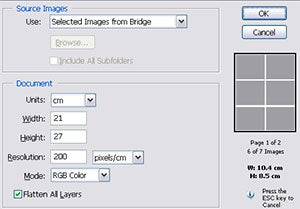
The options contained within the Contact Sheet dialogue allow the user to select the number of columns of image thumbnails per page and the content of the text labels that are added. The page size and orientation can also be chosen via the Page Setup. Pressing the OK button instructs Photoshop to open each image in turn, resize the picture and then position it in a new document ready for printing.

01 To start the process multi-select items inside Bridge or the Organizer space of Photoshop Elements. Then Photoshop users should select Tools > Photoshop > Contact Sheet II . Elements aficionados on the other hand will go straight to File

02 When working with Bridge/Photoshop the Contact Sheet dialogue will then be displayed. It is here that you can alter the sheet’s layout and design before producing the group of thumbnails as a new Photoshop document ready for printing.

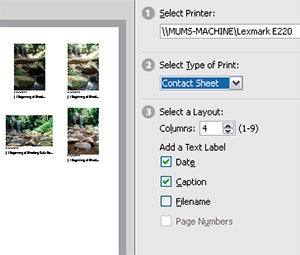
03 Photoshop Elements, on the other hand, takes you directly to the common Print Selected Photos dialogue. Here you need to choose the Contact Sheet option from the Type of Print menu and then you can alter the Layout options in section 3 of the dialogue.
In Photoshop:
Tools > Photoshop > Contact Sheet II (in Bridge)
In Photoshop Elements:
Elements users can create contact sheets from raw files by selecting the images inside the Organzier and then selecting File > Print – Contact Sheet.


