Photographers will be familiar with the technique of panning to introduce blur into the background behind a moving subject. Using this Photoshop equivalent you can make even a stationary subject look like itu2019s travelling at high speed. Weu2019ll apply the Motion Blur filter to the whole image and then use the history brush to retrieve the subject.
Pro Tip: Think about the motion of the subject if it were photographed with a slow shutter speed. Are there moving parts that would blur more than the body of the subject because they’re moving faster? Good examples of this would be the wheels of vehicles or the arms of sprinters. Take this into account when you’re removing the effect of the Motion Blur filter in step 03.

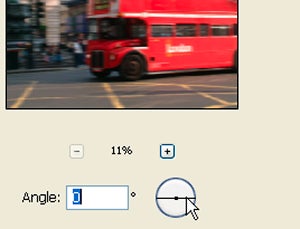
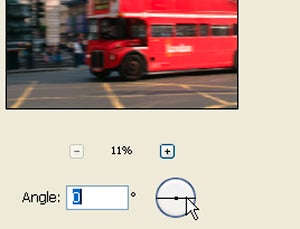
01 Open the image and go to the Filter menu. Choose Blur and then Motion Blur. Decide which direction the subject is moving and adjust the Angle control accordingly. The most novel way to do this is to rotate the spinner by dragging it with the pointer. Subjects moving across the field of view require a horizontal angle.

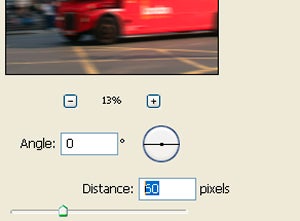
02 Experiment with the degree of blur required by dragging the Distance slider left or right. As the number of pixels increases, the appearance of speed increases. Choose a degree of blur that looks credible for the subject in motion.

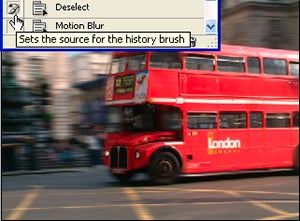
03 Take the history brush from the toolbox and set it to an appropriate size and softness. To paint back to the step just prior to applying the filter, go to the history palette and click in the box beside the previous step. This allows you to use the brush to paint over the subject and restore its clarity as desired.
In Photoshop:
Filter > Blur > Motion Blur
In Photoshop Elements:
Filter > Blur > Motion Blur


