Second-hand optics have become big business in the photo world, but you need to know what you’re looking for. Here are seven tips for buying used lenses to make sure you don’t get ripped off
Know your seller
You don’t have to take them out for dinner or anything, but it’s a good idea to talk to the person who’s selling you a lens. If you can get referrals and references as to their good character, all the better (if you’re on eBay, avoid people with no feedback from buyers). It’s worth asking the seller why they’re selling the lens – if they don’t have a satisfying answer for this question, they may be trying to offload a faulty lens onto you.
Check over the body
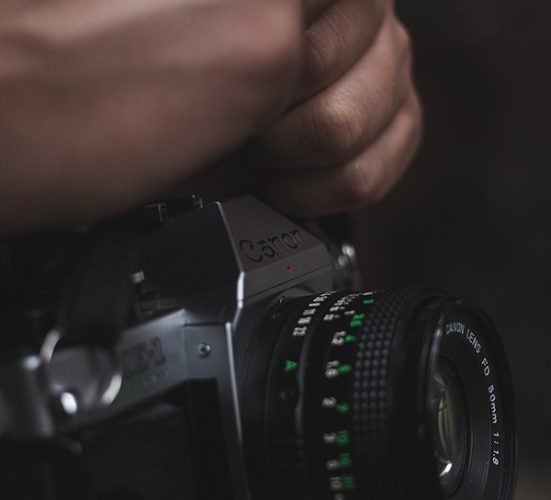
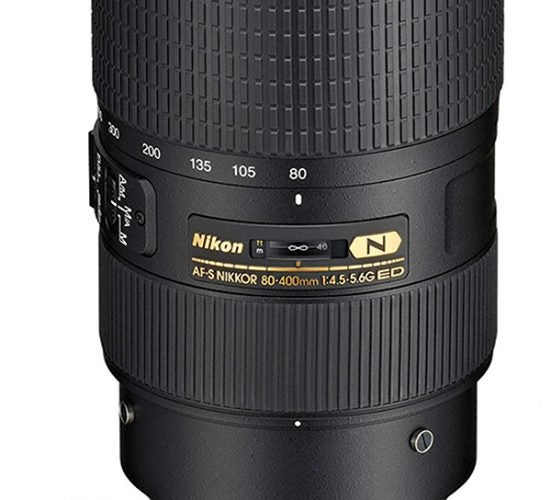
First things first. This is the most basic and fundamental check you need to do, but it’s important not to neglect it. Take stock of the outer body of the lens, look for nicks and scratches. A few dings are fine and won’t affect the operation of the lens, but be alert for any that look more serious and ask your seller about how they happened. You really can’t be too thorough at this point.
Shine a light
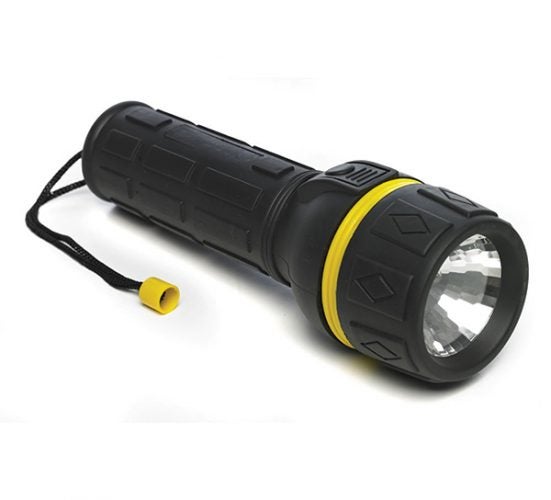
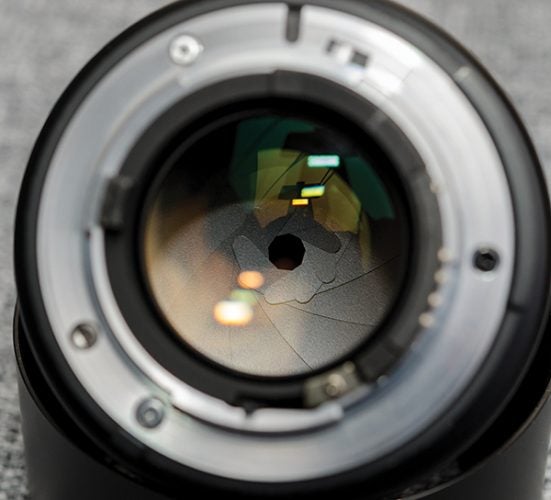
This is the tried and tested way to check if large dust clumps or fungus have got inside a lens – shine a light through it and take a look at what shows up. Minor dust specks won’t be a problem, but larger ones can affect operation and image quality. Open the aperture all the way and inspect thoroughly. If you see any kind of large spots in the light path then the lens is in trouble and you’re best off keeping your money.
Test the AF
Hook it up to a camera and start focusing. Obviously different lenses will have different autofocus responses, so this is where it’s a good idea to research your lens beforehand. Try out various focus points and focusing modes, and make sure the focusing action is as smooth and fast as you’d expect. Take your time over this, and feel free to ask your seller about anything you’re unsure of. Check it still works well at minimum focus distance and in infinity focus mode.
Check the zoom
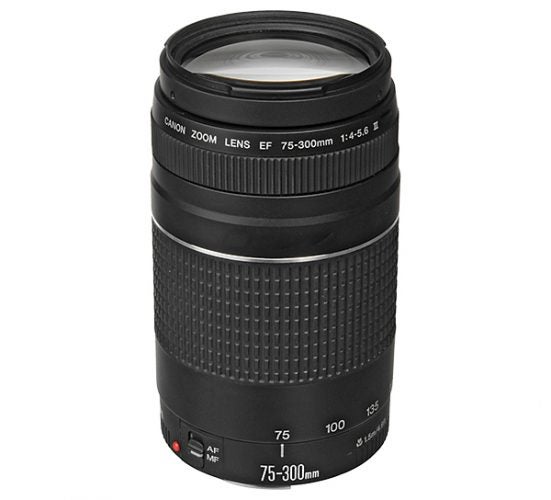
If you’re buying a zoom lens, check that the zooming action is smooth. The ring should turn smoothly but not too easily – if it’s extremely smooth then this is probably a sign the lens has been used a lot. Also make sure to check for zoom creep: this is when a zoom lens’s zoom action drifts when pointed downwards. Some of this can be expected with heavier lenses, but if it happens too easily and freely then you have a problem.
Check the aperture blades
A lens that has sat unused for some time, and especially one that has been stored in too warm an environment, can develop oil on the aperture blades, and this doesn’t help them run smoothly. The viscosity creates friction and impedes smooth aperture changes. It should be visible on the blades as you adjust them. However, you can also check using the depth-of-field preview function, if the lens has it.
Check the images (properly)
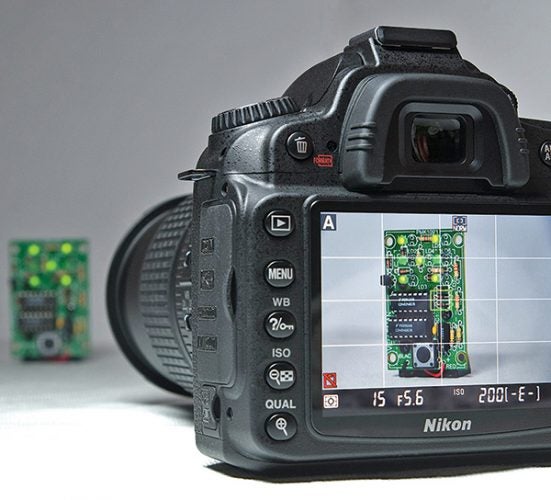
This is the last, very important step. Don’t settle for checking images on the rear screen. Get them onto a computer with a decent monitor, blow them up and inspect them. You don’t have to be a pixel peeper for this to matter: today’s small speck can easily become tomorrow’s shot-ruining blemish that transforms your lens into an expensive paperweight. Bring a laptop along to your buying meet if you want, and check them on the spot. You can’t be too careful!


