How to shoot Twilight – Using ND Grads

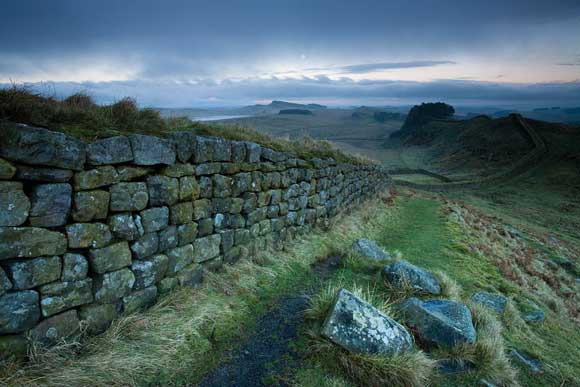
‘I went up to Hadrian’s Wall in the late afternoon to catch the sunset’,
says Craig Roberts, ‘but the sun refused to come out from behind a
cloud.’ This was taken at dusk, using a two-stop ND grad to darken the
sky. Canon EOS 5D, 17-40mm, 2-stop ND grad, 1/2sec, f/16. © Craig
Roberts
If you still have some light in the sky you might need to take some Neutral Density (ND) Graduated filters. These are neutral grey at the top and clear at the bottom (see right) and can be used to reduce the brightness level of the sky to balance it more closely with that of the foreground.

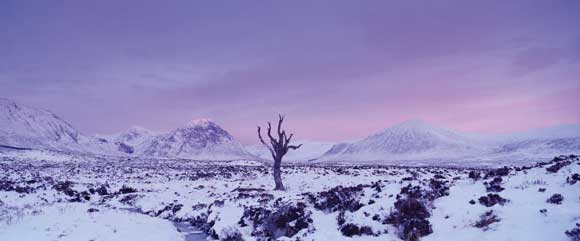
Dead tree on Rannoch Moor, Scotland, in winter at dawn. Jeremy Walker
used an ND grad to darken the sky. Nikon D2x, 24-70mm, 5 seconds, f/16. ©
Jeremy Walker
Otherwise you will have to choose between overexposing the sky or underexposing the foreground. To use them, take separate meter readings for the ground and sky, calculate the exposure difference in stops. If it’s three stops, say, use a 3 stop (0.9) ND grad over the sky and set your camera’s exposure to the reading obtained for the foreground. If the difference is greater than three stops you can combine multiple filters to get the amount of blocking power you need for some extra-long exposures.

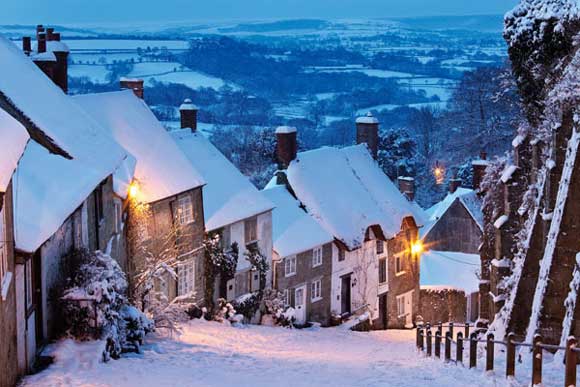
Guy Edwardes photographed a snow-covered Gold Hill in Shaftesbury early one winter morning. As it was still fairly dark, a 30-second exposure was required. Canon EOS 5D Mk II, 24-105mm, 30 seconds, f/16. © Guy Edwardes


