
How to shoot Twilight – Towns & Cities
Many towns and cities look better at night than they do in the daytime. The dark shadows hide the litter, the graffiti and the ugliness of that 1960’s office block, and all eyes are drawn to the colourful twinkling lights. Most cities and large towns have buildings that come alive when lit up, but it’s crucial to shoot at the right time, when there is still some colour in the sky, otherwise the contrast will be so high that unlit parts of scene will disappear into blackness, and you’ll be unable to make out roof lines and horizons properly. When there’s light in the sky you’ll be able to record detail even in unlit parts of your picture.

kept the shutter speed to just two seconds. Nikon D2x, 10-20mm, 2
seconds at f/8. ©Tim Gartside
Get into your chosen position in time for sunset and stay till darkness falls. During twilight the sky often records as a deep blue which provides a great contrast to the warm lights. If there’s a sunset you’ll get oranges and purples which also looks great. Your optimum shooting period varies throughout the year, but in winter can be as little as 10 minutes, so you’ll need to work quickly. Don’t try to cram too many different shots into a night’s shoot. It’s best to nail one good shot at the optimum time, and then return to get others on another night.

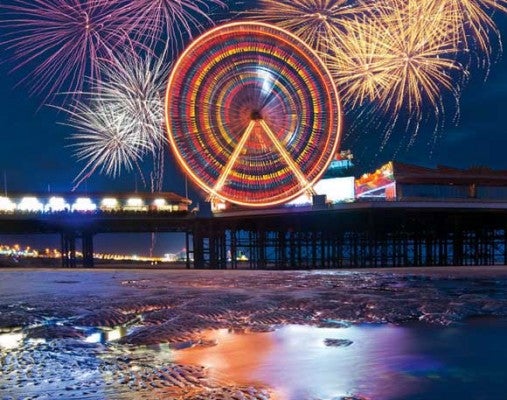
Look beyond the obvious viewpoints for more interesting compositions.
Adding foreground interest can provide a sense of depth. Nikon D2x,
10-20mm, 4 seconds at f/8. ©Tim Gartside
You’ll be using long exposures so a tripod is a must, and if you have either a remote release or the ability to lock up the mirror these will help you get sharper pictures. Set the camera to manual exposure and focus, and shoot in Raw mode so you can fine tune the exposure and White Balance afterwards.

The classic city skyline – in this case London’s Canary Wharf, as seen
from the other side of the Thames. Nikon D2x, 70-200mm, 5 seconds at
f/8. ©Tim Gartside
Note that when you use small apertures such as f/16, point light sources can take on a starburst effect. This can look good, but if you want to avoid this shoot at wider apertures such as f/8.

only by the street lights which, aided by fog and snow, turned the
scene an eerie red. Nikon D300s, 50mm, 2 seconds at f/11. ©Tim Gartside
If you’re using a compact camera you’ll have less control but good night shots are still possible. Using a tripod, set ISO 100, Daylight White Balance, Flash Off, and use the self-timer to fire the camera.
