
Looking to re-size your images without any loss of quality? Philip Andrews explains how the Smart Objects facility in Photoshop Elements can help..
Software: Photoshop Elements 6 and 7
Skills learnt: Preserve the quality of your images while applying resizing changes by using the Smart Objects tool in Elements
Time: 20mins
There has been a quiet revolution occurring under the hood of Photoshop Elements. Most of you will know that there have been changes to the Photo Book and Photo Collage projects. However, did you also realise that this feature not only provides photographers with new and powerful ways to use their images to generate exciting projects, but they also implement Smart Object technology, and all its advantages, in a more user-friendly way than the method employed in Photoshop itself? So, to get started let’s look at some of the technology that underpins this new way of working.
As a foundation for the Photo Book and Photo Collage technology Adobe created a new type of layer, Frame Layers; a new file format, the Photo Project or PSE format; a new design system that uses special matched frames and backgrounds sets called Themes; an updated version of the Photo Bin, called the Project Bin; a set of Photo Projects that make use of all this new technology; and, finally, a new Task Mode based layout workflow.
Frame Layers are unlike other image layers in that they contain both the photo as well as its surrounding frame. These parts are stored separately and remain editable even though they appear as a single layer. The Frame Layer is Photoshop Elements’s equivalent of the Smart Object layer in Photoshop. When adding an image to a frame layer you are, in effect, embedding the photo in a Smart Object layer. The bonus of working this way is that by placing a photo in a Frame Layer you are protecting the pixels from alteration from that time forward.
The following is not so much a technique but a demonstration of how Frame Layers can help you ensure good quality irrespective of multiple resizing steps. Now I can hear a lot of you saying, ‘That’s great if I actually wanted a fancy frame surrounding my photos, but I don’t!’. Well in version 6.0 and 7.0 it is possible to select a Theme in the Photo Collage creation process called No Theme. This option creates a frame layer without adding a decorative frame to the embedded photo. So you get all the protection without the decorative borders.
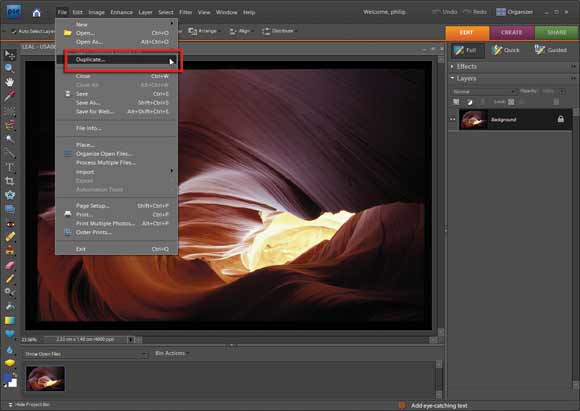
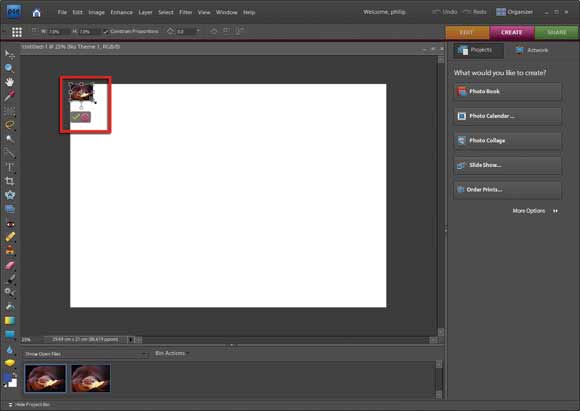
1. Start by opening an example image in the Editor workspace of Photoshop Elements. When the Duplicate Image dialogue opens add a Frame Layer to the second version of the file so that you don’t get confused between the two. Now select the original photo by clicking onto its thumbnail in the Project Bin (bottom of the workspace).
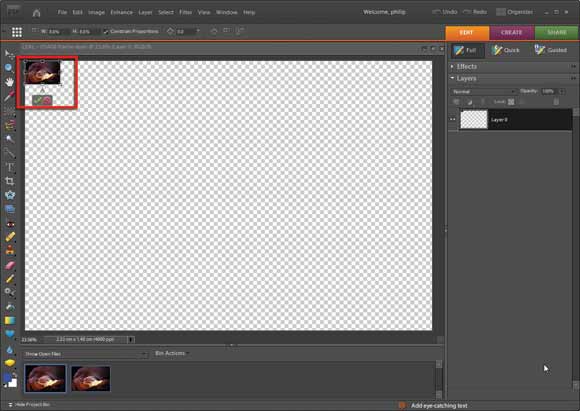
2. Double-click the Background entry in the layer palette to convert the Background to a standard image layer. With the Move tool selected and the Show Bounding Box option checked in the tool’s options bar, select the right bottom handle on the image layer and drag up and towards the top left of the workspace. Click the Commit button.

3. Now drag the same right bottom corner handle back to its original position. Apply the transformation and then drag it back to the top left of the screen to make the photo smaller again. Again, resize the photo back to the original dimensions. Do this a couple of times to simulate making adjustments to the photo.
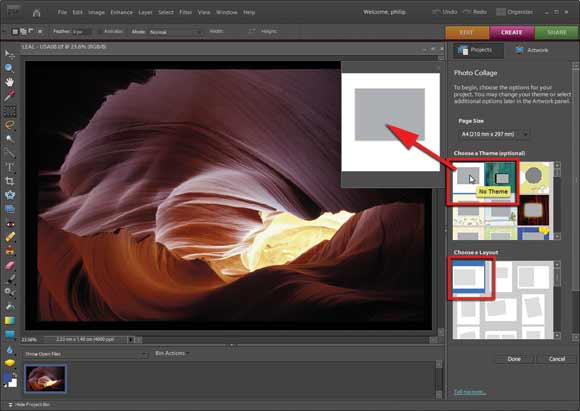
4. Select the second copy of the file titled ‘frame layer’ and select the Photo Collage option from the Create pane – a new Projects pane will be displayed. Pick a Page size and then pick the No Theme entry from the ‘Choose a Theme’ thumbnails. Next pick a single image layout. Click Done to create the Photo Collage project.
5. The open image should have been automatically added to the new project and in the process the photo will be added in a new Frame Layer. Now perform the same series of down and upscale steps to this image as you did to the previous one. Notice that with each transformation that the picture retains all of its detail and sharpness.
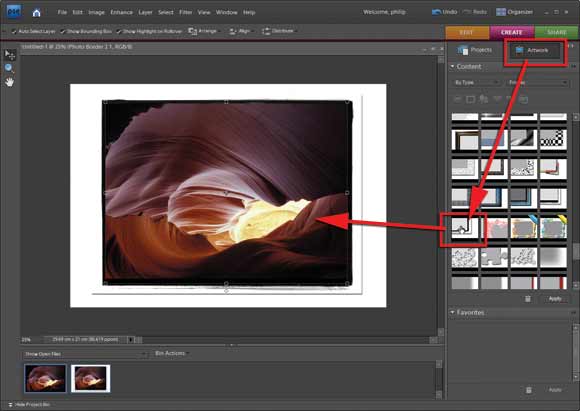
6. Now when using the No Theme option you get all the power of frame layers without the fancy edge designs, but if at a later date you decide that you want to swap to a frame layer design with a few more bells and whistles just select a new design from the Artwork section of the Create pane and hit the Apply button.