
Photoshop Facial Surgery: Page 3
Align or Not
Switching between aligned and non-aligned can really help when you are rebuilding missing parts of your restoration project. 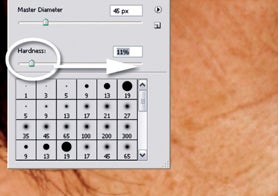
Aligned sets the sample point so that it remains the same distance from the stamped area no matter where on the picture you start to click, and non-aligned repositions the sample point back to the original sample spot each time.
Healing Brush
The Healing Brush works in a similar way to the Clone Stamp tool; the user selects the area (Alt/Option-click) to be sampled and then proceeds to drag the brush tip over the area to be repaired. The tool achieves great results by merging background and source area details. The size and edge hardness of the current brush determines the characteristics of the Healing Brush tool tip. In our example, the deep crevices on the model’s face have been easily removed. The texture, colour and tone of the face remain even after the ‘healing’ work is completed because the tool merges the new areas with the detail of the picture beneath.
Patch Tool
The Patch tool lets users apply the repairing power of the Healing Brush to sections of pictures. To use the tool, select, drag the selection and patch. Select the Patch tool and draw a selection around an area. You can add to, subtract from or use the intersection of multiple selections to refine your selection. After making the selection the Patch tool gives you two choices. If Source is selected, in the tool’s options bar, you can drag the selection to the area you want to use as a patch. Letting go of the mouse button will use this area to patch the original selection. If Destination is chosen, the area you selected will become a patch that you can drag over the part of your picture that needs repairing.