
Image Resizing for Web and Email – Step-by-Step
Here’s our quick step-by-step on how to resize for web and why each process is necessary…
Step 1 – Changing Resolution
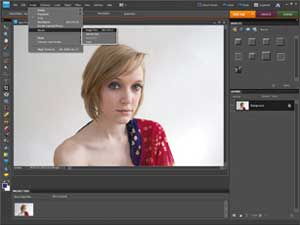 In Photoshop Elements, Image > Resize > Image Size will bring up the image’s dimensions and resolution information. The Resolution box within will vary depending on camera used, usually showing 72, 180, 240 or 300 pixels/inch (ppi). For the purposes of web-based work, including email, the convention is to work at 72ppi. Changing this may also resize the pixel dimensions should you be lowering the ppi, as size and resolution are intrinsically linked.
Step 2 – Resizing
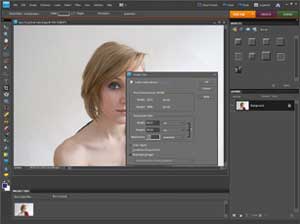 Within the Image > Resize > Image Size panel, with resolution set to 72ppi, you can adjust physical width and/or height. To maintain image proportions, ensure that the ‘constrain proportions’ box is ticked. As we are downsizing, select ‘Bicubic Sharper (best for reduction)’ at the base of the panel. When considering size, note that the most common screen resolution is around 1280×1024 pixels. A common target size is 800 pixels wide for small file sizes with ample quality.
Step 3 – Save For Web
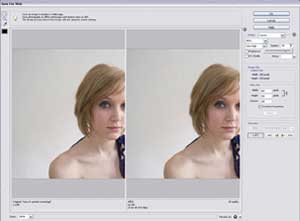 File > Save For Web… will open a dialogue box for compression. Here it is possible to select output format, with JPEG best for photos (ignore Gif or Png). A Quality field provides a slider from 0-100 with the Optimized preview window showing the result. To the bottom left will be the file size – something no more than a few hundred kilobytes maximum is ideal, less if possible. Save For Web automatically assigns the sRGB colour space that’s standard for Browsers.
Step 4 – Naming Convention
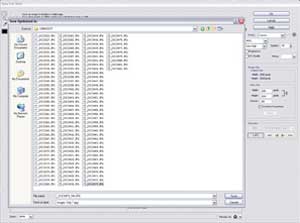 As you click ‘Save’ in Save For Web… a further (and final) ‘Save Optimized As’ window will prompt where to save the image. It’s integral not to overwrite the original large image, as then you’ll not have a copy eligible for high-quality printing. Instead, preferably in a separate folder, add a ‘_SM’ to the end of the file name to distinguish it as the ‘small’ version. This is to your preference, however, as you may choose to apply a different naming convention.
Alternatively…
Batch Processing
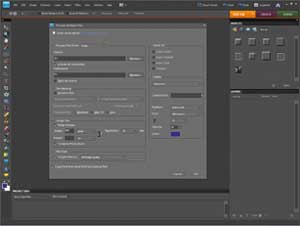 To perform the same action on multiple images: Select File > Process Multiple Files for a new dialogue box. Here you can select from folders and subfolders, and also the destination folder for the processed save. The File Naming section provides renaming tools, with Resize Images controlling resolution and image size to be applied to all. Batch is slightly less detailed than individual processing, but much quicker.