
Colour, as we see it, is only a small part of the light spectrum. Ranging from violet to deep red it occupies wavelengths from around 380 nanometres (nm) to 750nm; shorter wavelengths become Ultraviolet, while longer wavelengths are Infrared (IR).
Although these extremities of light cannot be seen with a naked eye, they can be picked up by our camera’s sensor. For conventional photography this can be detrimental, and so manufacturers equip their sensors with UV and infrared filters, to protect against them. However, for creative uses, infrared light especially can produce some stunning effects.
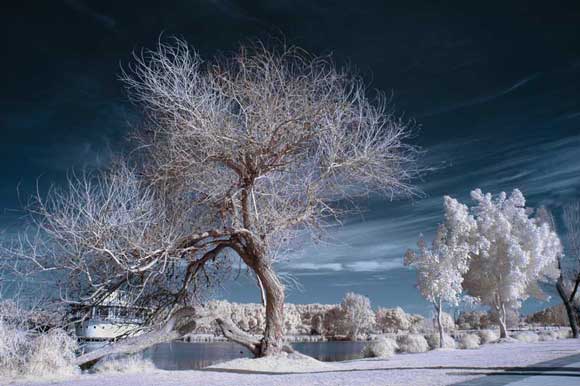
Infrared images are easily recognised by their radiant white trees and jet-black skies, either in black and white, or with strange colour casts. This is because objects respond differently to infrared light than they do to visible wavelengths: plants and trees reflect far more, making them appear to glow, while water and skies reflect very little. Traditionally infrared photography was a tricky business; infrared film was difficult to handle – easily fogged in daylight – and results were highly unpredictable but, thanks to the instant previews of digital cameras, the process is now much easier.
In this feature we show you how to achieve eerie results like these from your camera…
Allon lives in a small town near Tel-Aviv in Israel. He uses a converted Canon 200 and a regular Nikon D70 for his IR work