
Using your flash effectively will help you to grow your photography skills immeasurably. We take a look at the different types of flash on the market and how to make the best use of them.
Whether it’s using fill-flash to banish harsh shadows or illuminate would-be silhouettes, or using off-camera flash techniques to create professional looking portraits, flash is an essential skill to master.
That being said, it’s a difficult ability to truly master, so let us explain the basics of flash while exploring some of its more creative application in our complete guide to flash.
Types of Flash
Broadly speaking there are three types of flash unit, each of which offers incrementally more power.
At the bottom end of the scale are the small pop-up flash units that are built into virtually all compact cameras, along with most compact system cameras and DSLRs.
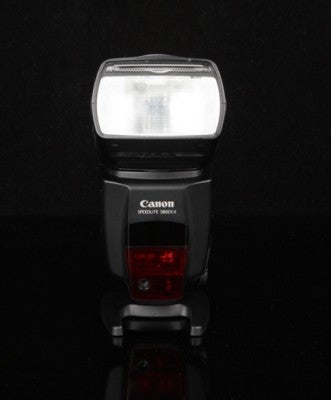
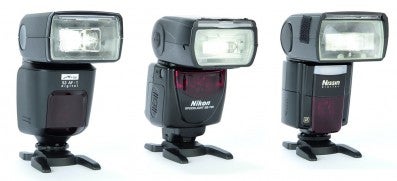
Next come the standalone flashguns that slot into a camera’s hotshoe connector and which use their own power supply – usually four AA batteries.
At the top end of the power scale are the large professional lighting kits that are primarily designed for use in a studio environment where they are only going to be moved short distances. These also require their own power supply, usually in the form of a standalone battery unit, which makes them quite cumbersome. That said, it’s also possible to buy professional lighting kits that have been weatherproofed for use outdoors.
All three types have their own uses and practicalities – even the most basic of pop-up flash units. However it’s the small, hotshoe-mounted flashguns designed for use with CSCs, DSLRs and even some advanced compacts that offer the most convenient way to use flash creatively.
This is because they offer much more power and flexibility, yet remain small enough to stow away in a small camera bag.
If you plan on specialising in flash then you may want to graduate to a professional lighting system eventually, however for learning the ropes a hotshoe-mounted flashgun is undoubtedly the best tool for the job. Indeed, if you own a DSLR or CSC then equipping yourself with a decent flashgun should be your top priority.

Flash Basics
If you own a simple point-and-shoot compact with a built-in flash then the scope for altering the power and type of light it emits will almost certainly be quite limited. Move up to a mid-range compact, CSC or DSLR though and you will more than likely find options such as ‘red-eye reduction’ or ‘slow sync’ included within the flash menu.
Understanding how these affect the duration and intensity of the flash can often make or break an image under certain conditions.
Red-eye is a common issue with flash that can result in people having unflattering demonic-looking red eyes. It’s caused by the flash’s light reflecting off the pupils and is most common when the subject is looking directly at the camera. While it’s relatively straightforward to remove with some basic post-processing software, many cameras are equipped with a red-eye reduction mode that aims to prevent it from happening in the first place.
When selected the flash will emit a brief pulse of light milliseconds before the main flash goes off. This has the effect of constricting the subject’s pupils, which in turn reduces or even eliminates the red-eye effect altogether. It’s useful if you don’t want to spend time processing the flaw out at a later date.
Slow sync is another flash option that’s commonly found on digital cameras. On cheaper compacts it’s often listed as a ‘Night mode’ option (or similar) within the Scene Mode menu options, rather than within the flash options menu.
Either way, slow sync mode forces the shutter to stay open longer than the burst of flash, which in turn allows any available ambient light to illuminate the background more than if you just used regular flash.
While the main subject will usually be frozen by the burst of flash, the background will often be slightly blurred. This makes it a fun mode to experiment with and one that’s capable of producing quite interesting results in certain situations. If you’re out at night in a social situation this is often the best setting to use.
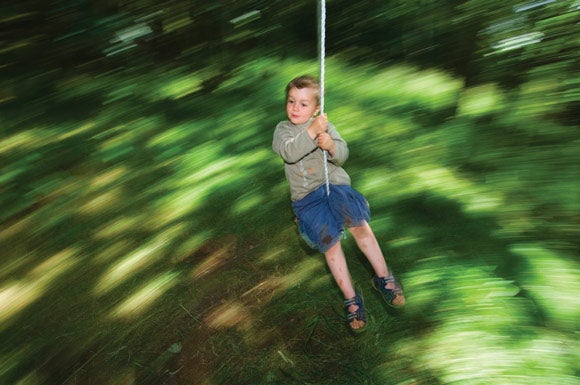
Sync flash modes can be used to capture motion
Sync modes
Front curtain sync and rear curtain sync are two further flash modes that can be used to capture interesting images with, although they are only generally found on more advanced cameras.
They are especially useful when capturing a moving subject as they convey a sense of movement through motion blur in the background behind the subject (the main subject will, however, be ‘frozen’ by the flash).
In practical terms the main difference between the two is that the former fires the flash just as the shutter opens, to create a blurred effect in front of the main subject; while the latter fires the flash just before the shutter closes, to create a blurred effect behind the moving subject.
They both work especially well when combined with a panning technique and are commonly used by sports and action photographers.
X-sync speed or ‘maximum sync speed’ simply refers to the maximum shutter speed that can be used reliably with a flashgun. Cheaper cameras often offer an X-sync speed of around 1/60th of a second, whereas more advanced cameras will typically offer around 1/250th of a second.
Higher X-sync speeds are useful because they allow you to use wider aperture settings for a shallower depth-of-field effect in daylight when there is plenty of ambient light available.
Either way, if you try to use a shutter speed above your flashgun’s X-sync rating, then your image will come out partially black as a result of the shutter curtain closing before the flash has completed its cycle.
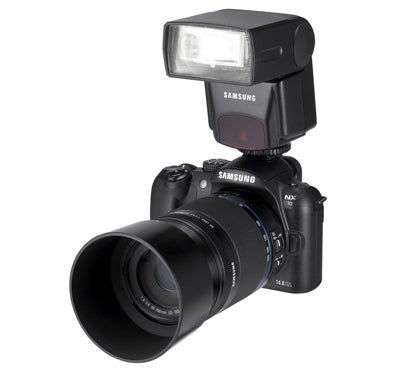
Hotshoe Flashguns
Hotshoe-mounted flashguns are a different beast altogether, although for the novice user they can often appear intimidating thanks to the large range of buttons, functions and metering modes that they offer.
Our best advice is to leave feature-laden, high-end models to professional shooters and start out with a more basic flashgun model instead. Stick to the basic TTL (Through The Lens) Auto metering modes at first before graduating to the manual modes once you are more comfortable with things.