
If you're looking to upgrade your Nikon kit, look at the lens first. Our guide to Nikkor lenses, the lenses made by Nikon to fit Nikon cameras, looks at their lens line up.
Nikon has been manufacturing glass since 1917, starting with binoculars. In 1932, it released a line of photography lenses, appearing under the trademark NIKKOR (an abbreviation of the company’s full name Nippon Kogaku KK, with an ‘R’ added to the end for good measure). This new venture led to the production of an aerial lens designed for the military, which was used for map making.
These first lenses were made by hand. The next big step came in 1946 when the company released a 35mm camera (naming it ‘Nikon’). Then in 1959 it developed the F-mount (a bayonet-type fitting that links the camera and the lens). This mount is still used on Nikon DSLRs today. As a consequence, when you buy a new Nikon camera, you gain access to a vast back catalogue of lenses.
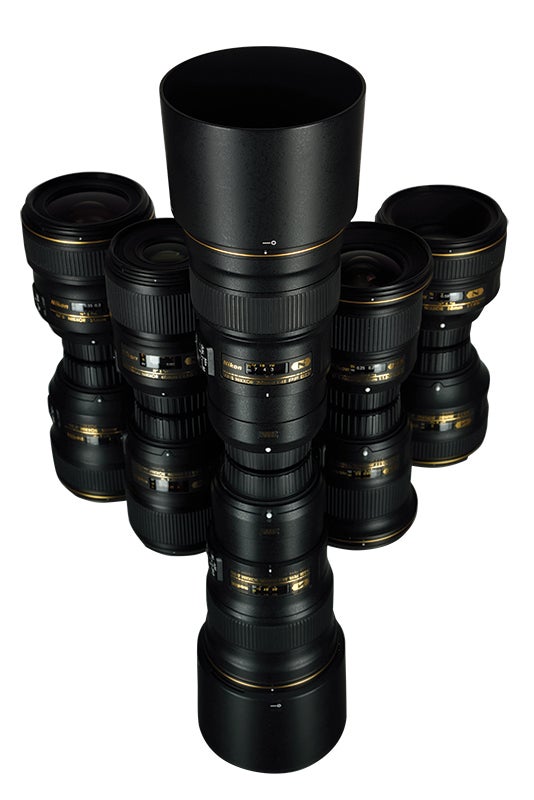
A small selection from the vast NIKKOR lens range – the company has been making glass (in various forms) for nearly a century
Choosing a lens
When it comes to buying a lens, it’s important to remember that the camera is only as good as the glass you put in front of it. There’s no point in buying a pro-spec body and teaming it with an inferior piece of glass.
In fact, entry-level cameras fitted with pro-spec lenses can yield superb results. Think of the camera as a computer processing information that it receives from the lens. Before you splash the cash, however, bear in mind that kit lenses have come a long way in the past 20 years. It’s no longer a case of simply ‘making do’ until you can afford something better, so check that your needs are not being met by what you already own.
If you decide to upgrade, study your image metadata to determine which focal length you use most often: if you own a 24-70mm lens but mostly shoot at 50mm, for example, you might be better off buying a 50mm prime.
Zooms and primes
The difference between a zoom lens and a prime lens is that zooms have a variable focal length, while primes have a fixed focal length. With a zoom lens you can fill the frame with a subject without having to get close to it – this is great for shooting timid or dangerous subjects, such as animals in the wild.
What’s more, the range provided by a zoom lens can replace a number of primes, leading to less weight in your kit bag. In addition, shooting with a zoom lens allows for extremely precise framing: with a prime lens you might be restricted to, say, 85mm, but with a zoom lens you can compose shots at 81mm, 84mm or 88mm, for example.
Naturally zoom lenses come with a few drawbacks, too. Firstly, they can make you a bit lazy: when you don’t have to move your feet it can stop you from seeking out fresh perspectives. Secondly, zoom lenses tend to have a maximum aperture that is a few stops smaller than prime lenses in the same focal length range.
Also, just to confuse matters, the maximum aperture of some zooms changes as you alter the focal length: so an 18-55mm lens might have a maximum aperture of f/3.5 when zoomed out, but a maximum aperture of f/5.6 when zoomed in. As a result, you need to use the lens at its widest setting to make use of its widest aperture. (Nikon does produce a number of lenses that maintain the largest aperture throughout the zoom range, but these are more expensive and also slightly heavier than lenses with variable apertures.)
When a lens has a wide maximum aperture it’s described as being ‘fast’ because it lets in more light than a lens with a narrow maximum aperture. This has two main advantages: firstly, more light means you can use a faster shutter speed to obtain the ‘correct’ exposure; and secondly a wide maximum aperture means less depth of field, which is attractive to wildlife, portrait and lifestyle photographers.
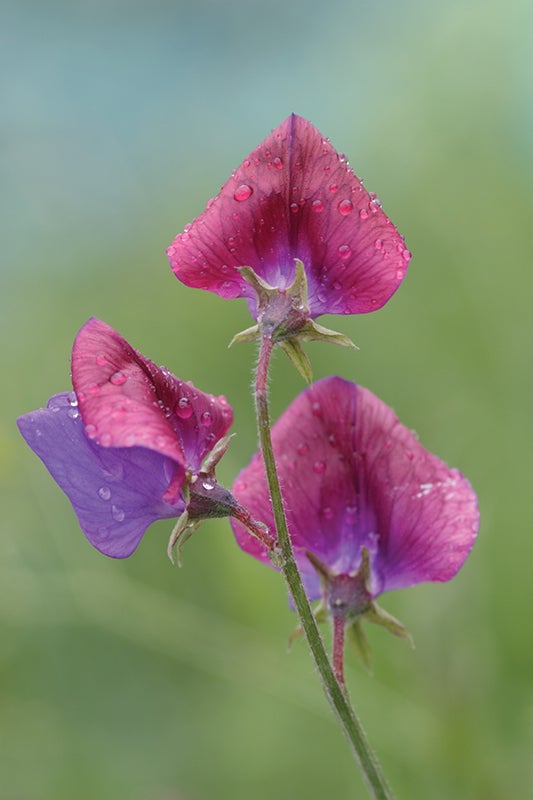
Macro (or Micro) lenses have a short minimum focusing distance, making them popular with plant and insect photographers
FX and DX format lenses
DSLRs have either a full-frame or a cropped sensor. Full-frame sensors are roughly the same size as 35mm film (36 x 24mm), while cropped sensors are smaller (around 24 x 16mm).
When a lens is fitted to a camera with a cropped sensor, the focal length appears to increase, but what’s actually happening is that the scene is being cropped. The extent of this crop varies between manufacturers, but Nikon’s is 1.5x, so a 24mm lens fitted to a camera with a cropped sensor will give an approximate view of 36mm. There is no crop factor on a full-frame sensor, so a 24mm lens gives a view of exactly 24mm.
All Nikkor lenses are listed as if they are intended for cameras with full-frame sensors, so if you attach a lens to a camera with a cropped sensor you need to carry out a quick calculation to see what you’re actually getting.
Nikon produces cameras with both full-frame sensors (known as FX-format) and cropped sensors (DX-format). It also produces lenses tailored to each sensor size – to find out which is best suited to your sensor look at the name: AF-S DX Zoom-NIKKOR 12-24mm f/4G IF-ED, for example. DX cameras and lenses are smaller and lighter than their FX brothers, but the sensor in an FX camera can gather more light, and tends to perform better in low light.
You can use both types of lens on both types of camera, but if you use a DX lens on an FX body the camera will automatically switch to DX crop mode at reduced resolution and use the central area of the sensor to record a 1.5x crop of the scene. It used to be the case that FX cameras were aimed at pros and DX cameras at hobbyists, but the line is getting thinner.
The camera is only as good as the glass you put in front of it, so invest in the best you can afford
The Nikkor lens line-up
One of the joys of owning a DSLR is the ability to change lenses, but with so many to choose from it’s hard to know where to start. Your first port of call should be the Nikon website (www.europe-nikon.com) where you will find a downloadable guide entitled I Am Your Eyes.
To give an overview, the Nikon range consists of zoom and prime lenses and includes wideangle, telephoto, Macro, fisheye, and PC (Perspective Control) lenses, plus three teleconverters. Let’s look at each of them in turn.
Wideangle lenses have a focal length of 35mm or less and are popular with landscape photographers because they exaggerate foreground features and provide a broad depth of field.
Telephoto lenses have a long focal length and narrow angle of view and are popular with sports photographers because they isolate subjects and make objects appear magnified in the frame.
Some Macro (or Micro) lenses are capable of lifesize reproduction, and all of them have a short minimum focusing distance, so they are especially popular with plant and insect photographers.
Fisheye lenses have an ultra-wide angle of view, and bend and distort objects at the edges of the frame, causing a striking ‘bubble’ effect.
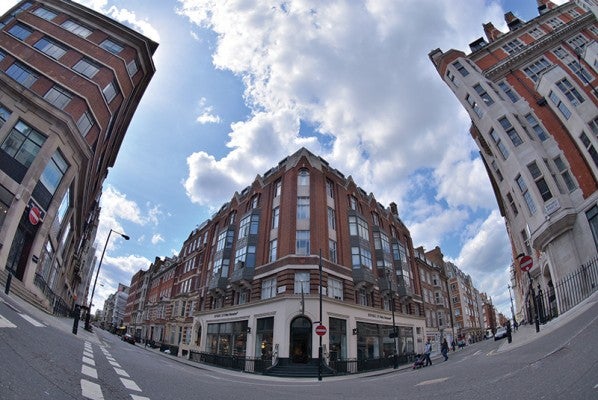
PC (Perspective Control) lenses enable you to control depth of field, distortion and perspective in your photographs, and are popular with architectural photographers.
Finally, teleconverters fit between the lens and the camera and increase the focal length of the lens, making them popular with wildlife and sports photographers. (They can only be used with certain lenses though, so check your manual before you comymit to buying one.) When it comes to upgrading your kit, the message is simple: think glass first.
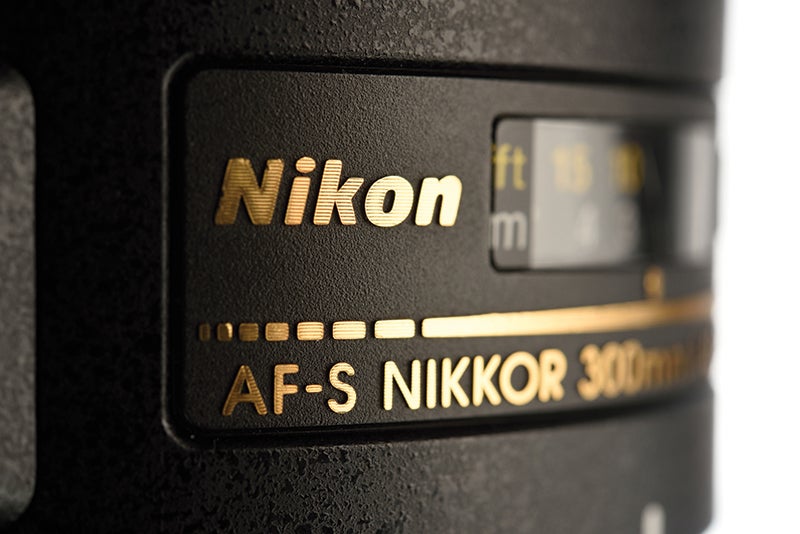
What’s on the barrel of a Nikkor lens?
The letters on a lens barrel can be somewhat mystifying, so here’s a quick rundown of what’s behind the abbreviations.
AF-S.
Indicates the lens has a Silent Wave Motor (SWM). This enables fast, accurate and extremely quiet focusing, which is great for wildlife.
DX.
Implies the lens has been specifically designed for cameras with a cropped sensor. The lens can be used on cameras with full-frame sensors, but cropping of the image will occur.
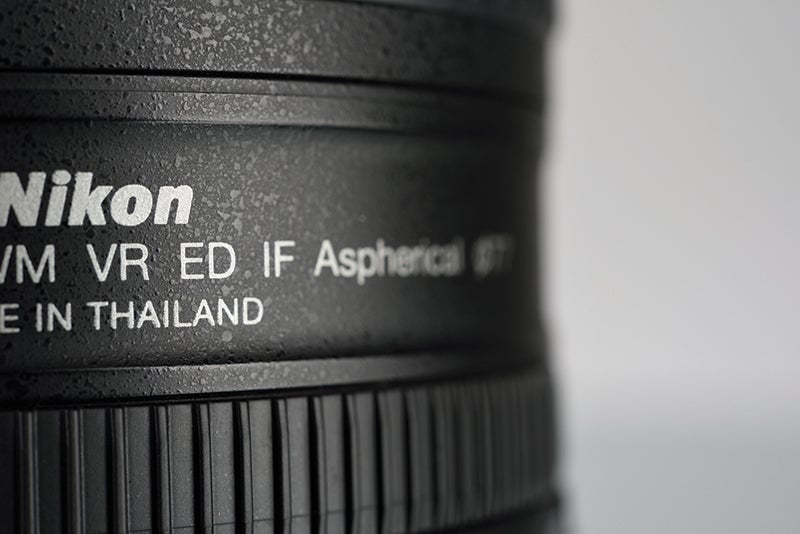
ED (Extra-low Dispersion Glass).
Reduces chromatic aberrations (optical colour defects) caused by different wavelengths of light passing through the glass but failing to meet at the same point.
IF (Internal Focus).
The lens can achieve focus without rotating or extending, which is great for using screw-on filters, or shooting close-up subjects.
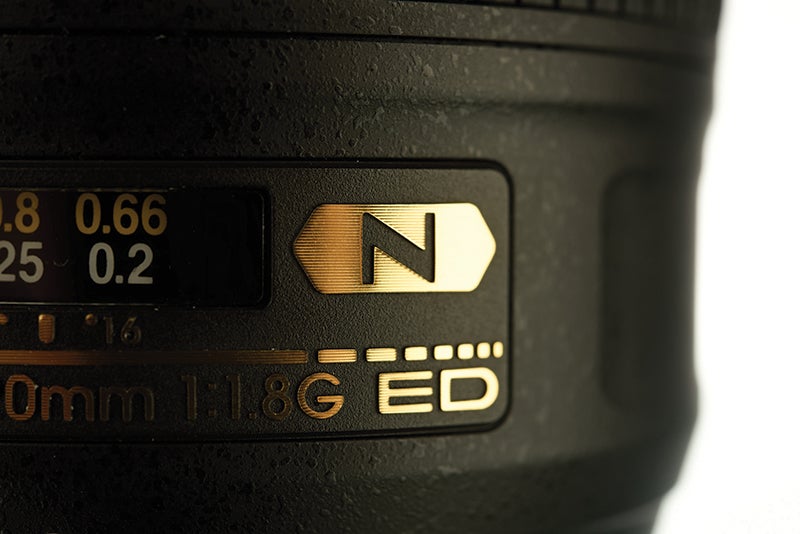
‘N’.
If you’ve got a gold badge with the letter ‘N’ on your barrel you know it has a Nano Crystal Coating. This enables light to pass through the glass more efficiently, reducing internal reflections.
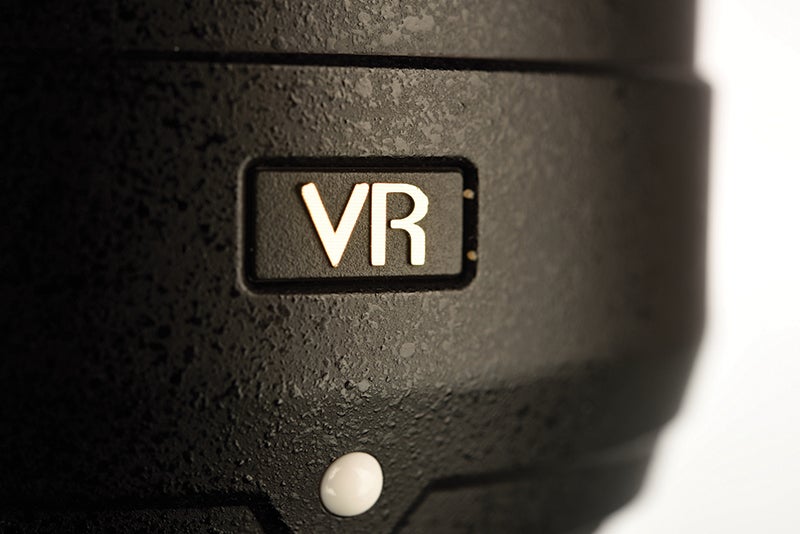
VR (Vibration Reduction).
Allows handholding at slower shutter speeds by detecting, and compensating for, camera shake.
VR (Vibration Reduction) technology
Many Nikon products feature VR (Vibration Reduction) technology to compensate for the small movements we make when we handhold our equipment. Some lenses offer two types of VR mode: Normal and Active. If you’re stationary, but camera shake is likely, then Normal mode will usually suffice. But if you’re moving (in a car or a boat, for example) then Active mode is the better option. If you’re using a tripod or other stable support then turn the VR system off.
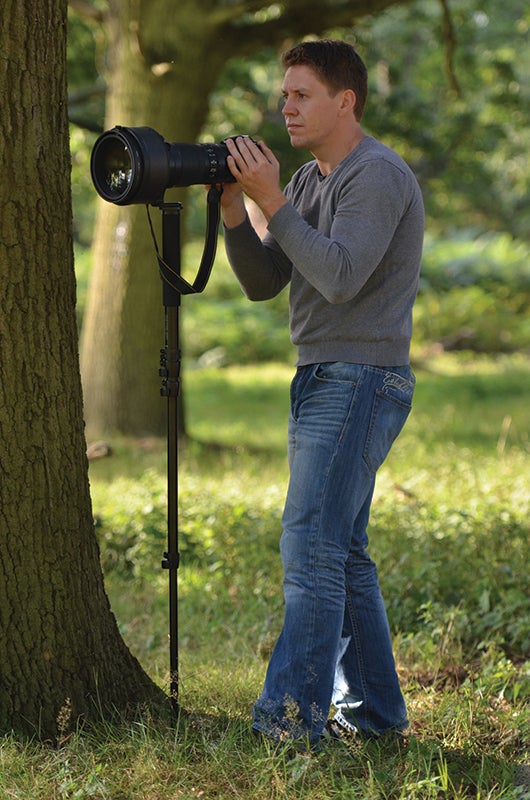
Step by step: Preparing your Nikon lens for shooting
Step one

If you decide to handhold your camera, make sure that the shutter speed matches, or is faster than, the longest focal length of the lens you are using – so if your lens is 200mm when fully extended, for example, select 1/250sec or more.
Step two
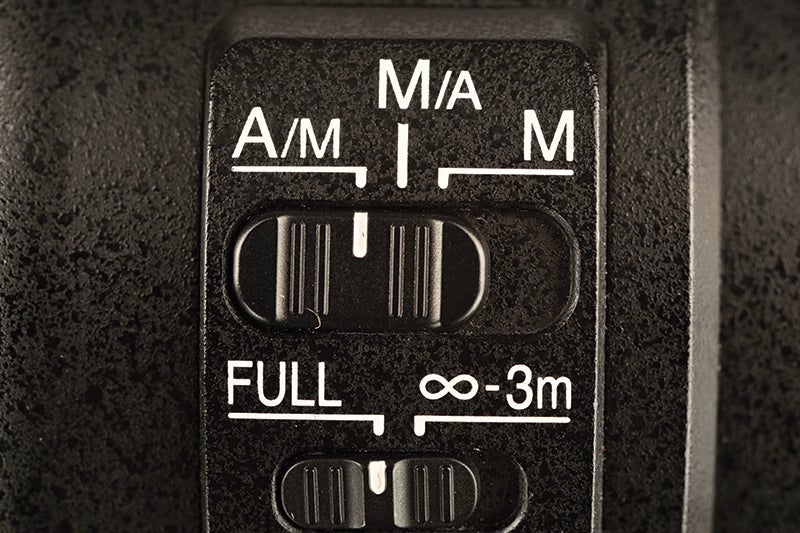
Some NIKKOR lenses have a switch with the following options: A/M, M/A and M. Select M/A to switch from AF to manual by rotating the focusing ring. If you opt for A/M you can override the AF in the same way, but it’s not quite as sensitive, so as to prevent accidental use.
Step three
If shooting handheld, make sure that VR (Vibration Reduction) is switched on. By contrast, if you’re using a tripod, monopod or other stable support then turn VR off. If you leave it switched on the camera may try to overcorrect itself, leading to out-of-focus images.
Step four
Zoom slowly in and out until you obtain the required composition, but don’t let the lens make you lazy. Move your feet to try out different viewpoints – if you’re feeling uninspired, then switch to a prime lens for a while.
Step five
Press the shutter-release button halfway (or use the AF-On button) to achieve focus. Then simply press the shutter button down fully to take a photograph.